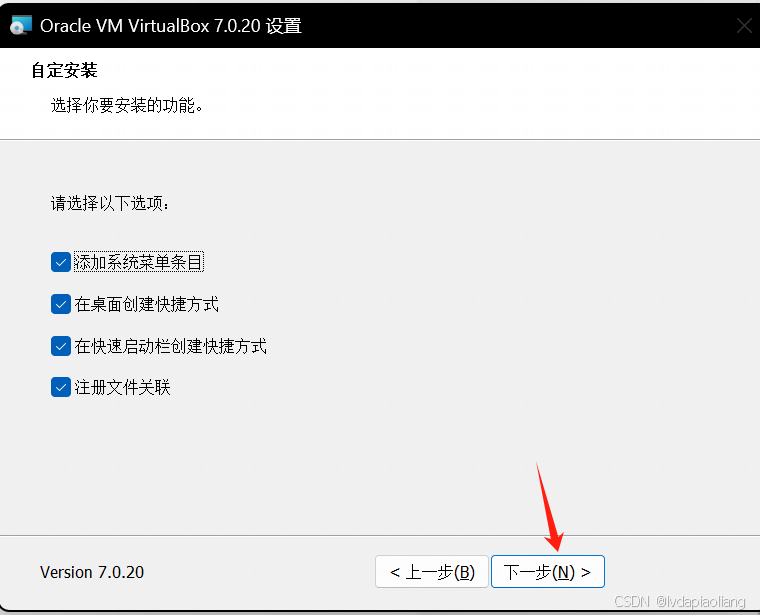
1、版本说明:
系统版本:centos stream 9
Kubernetes版本:最新版(v1.30)
docker版本:27.1.1
| 节点 | 主机名 | ip |
| 主节点 | k8s-master | 172.31.0.10 |
| 节点1 | k8s-node1 | 172.31.0.11 |
| 节点2 | k8s-node2 | 172.31.0.12 |
2、首先,使用Vagrant和Virtualbox创建centos stream 9虚拟机。
2.1、安装Vagrant
vagrant官网下载地址:Install | Vagrant | HashiCorp Developer
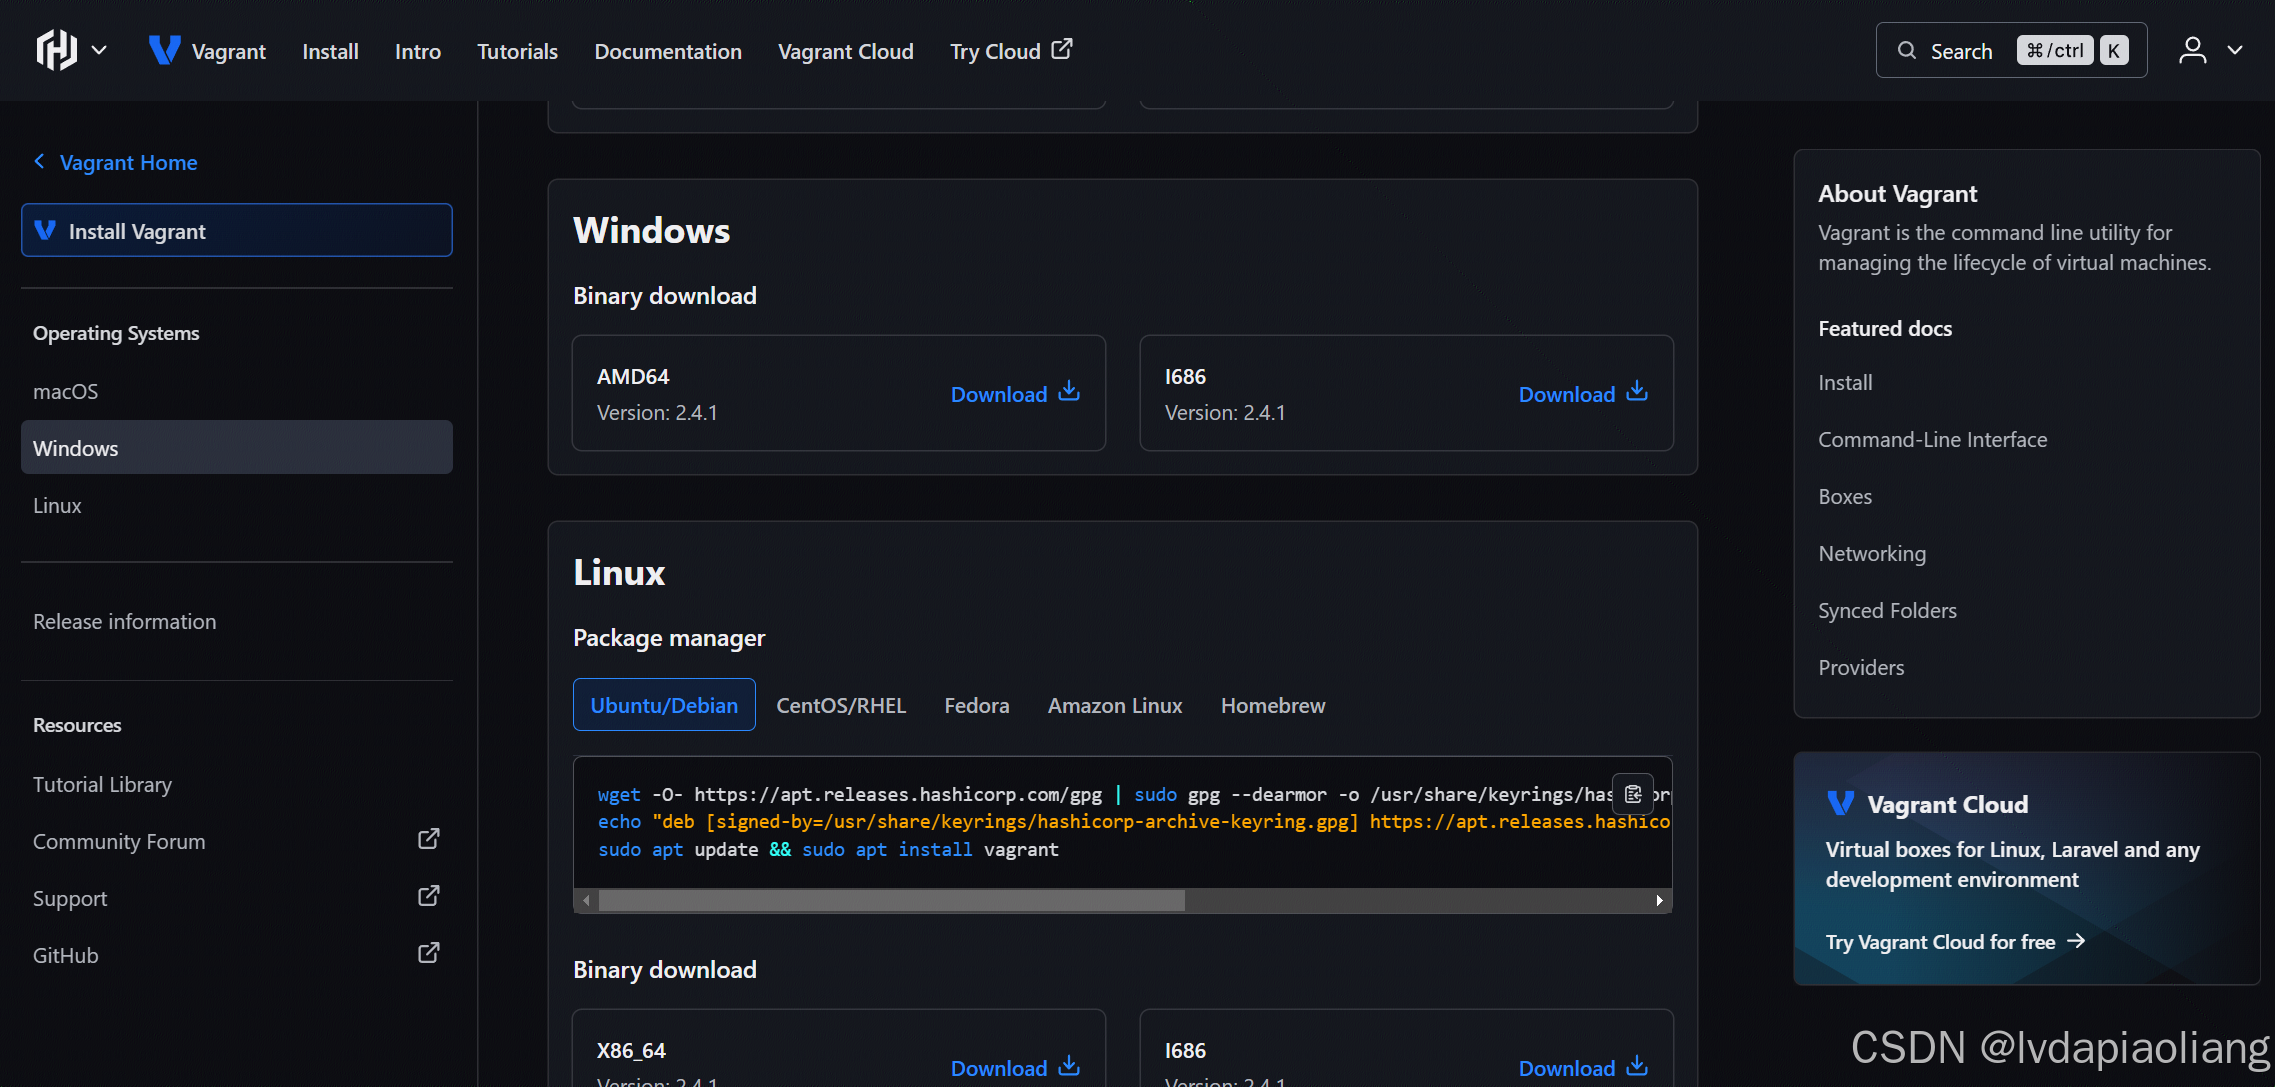
这里我们下载Windows版的vagrant_2.4.1_windows_amd64.msi安装包,双击后进行安装:
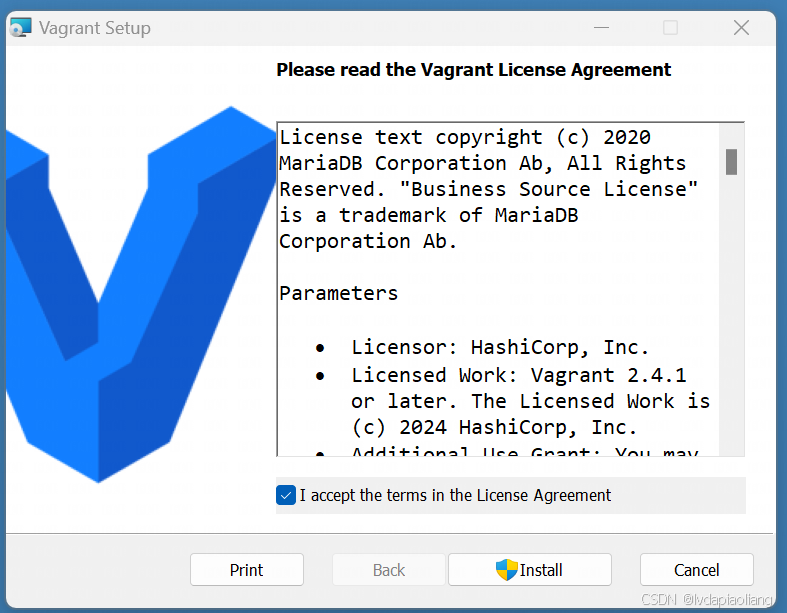
勾选"I accept the terms in the License Agreement",点击"Install"进行安装。
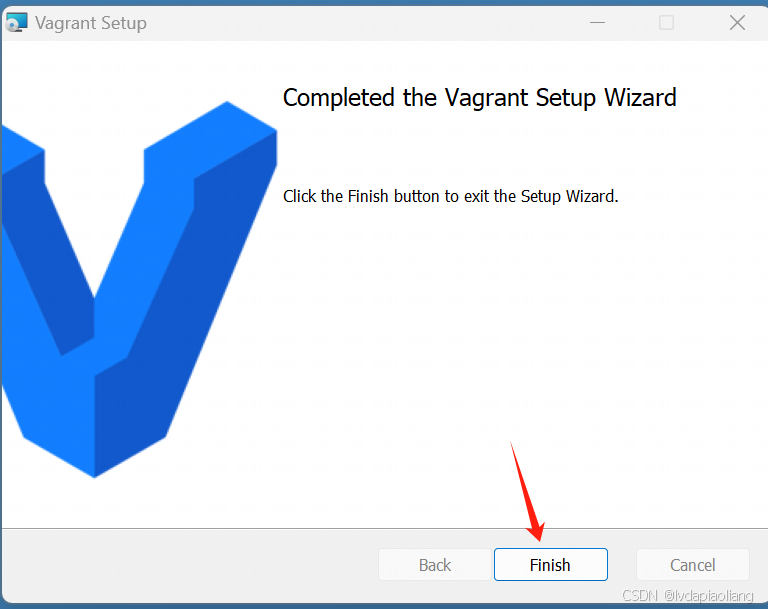
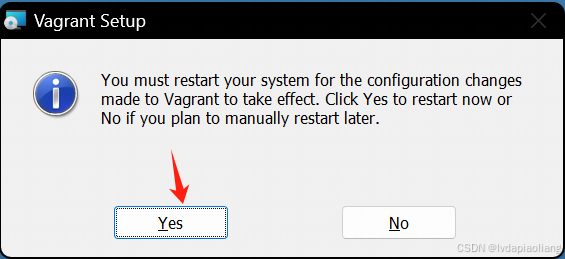
点击"Finish",然后点击"Yes"重启电脑。
重启之后,我们的vagrant就可以使用了。
2.2、安装Virtualbox
Virtualbox下载地址:
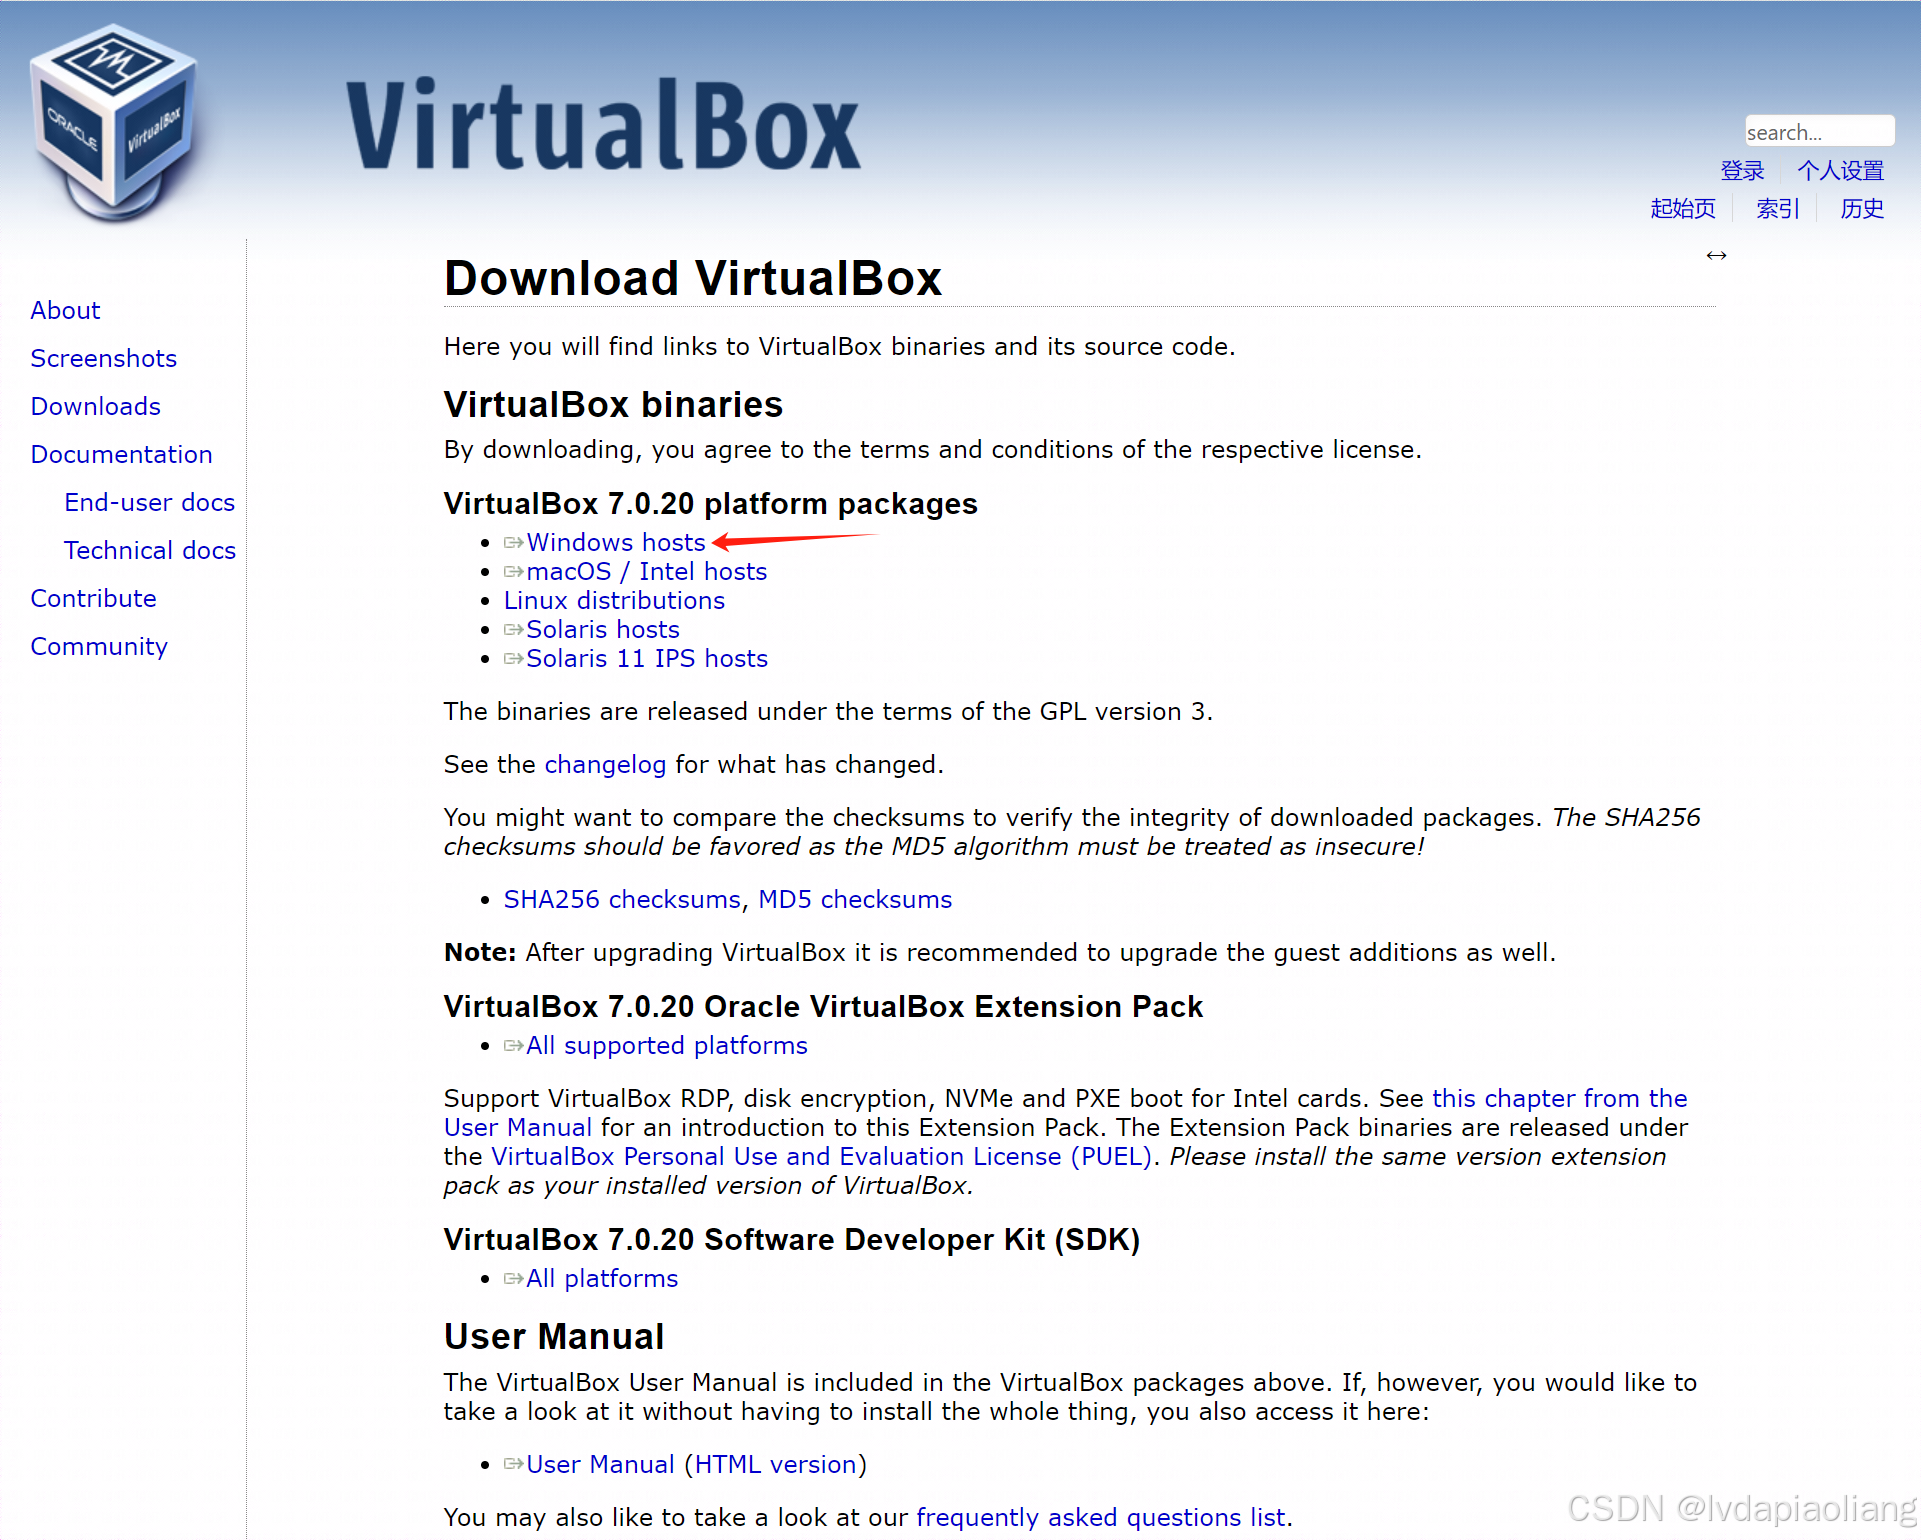
下载VirtualBox-7.0.20-163906-Win.exe![]() https://download.virtualbox.org/virtualbox/7.0.20/VirtualBox-7.0.20-163906-Win.exe安装包。
https://download.virtualbox.org/virtualbox/7.0.20/VirtualBox-7.0.20-163906-Win.exe安装包。
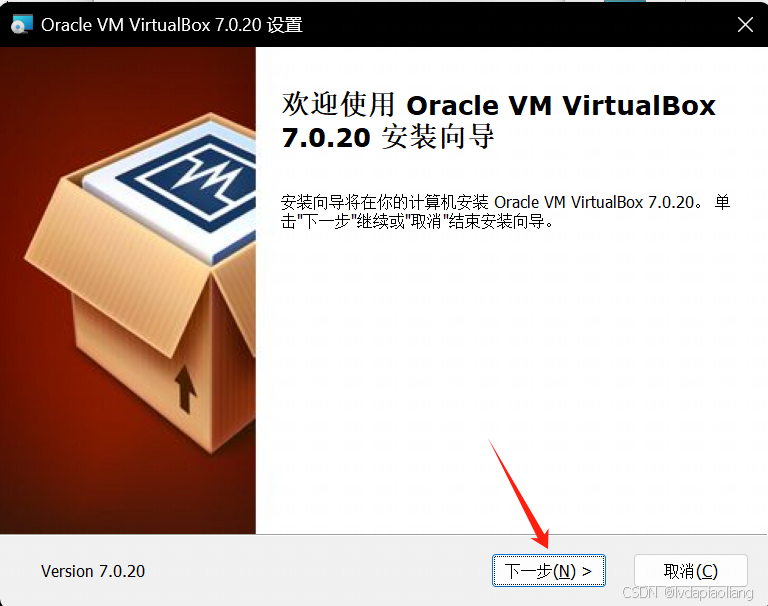
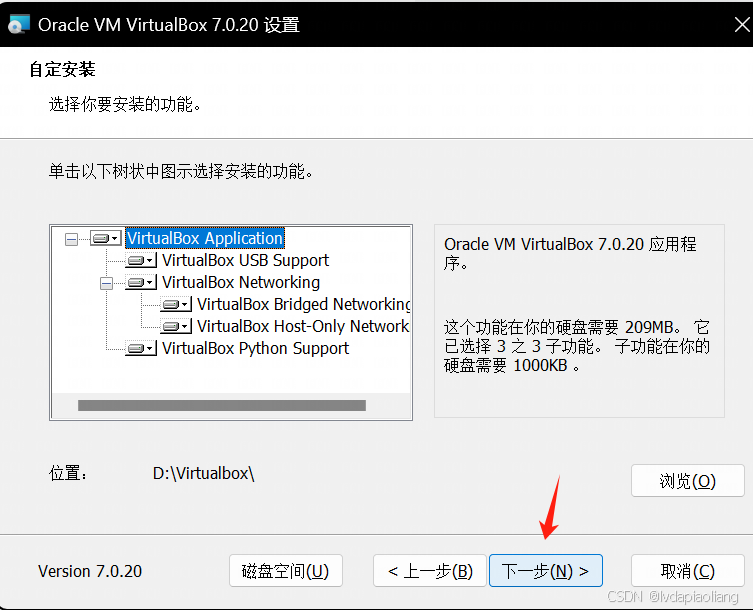
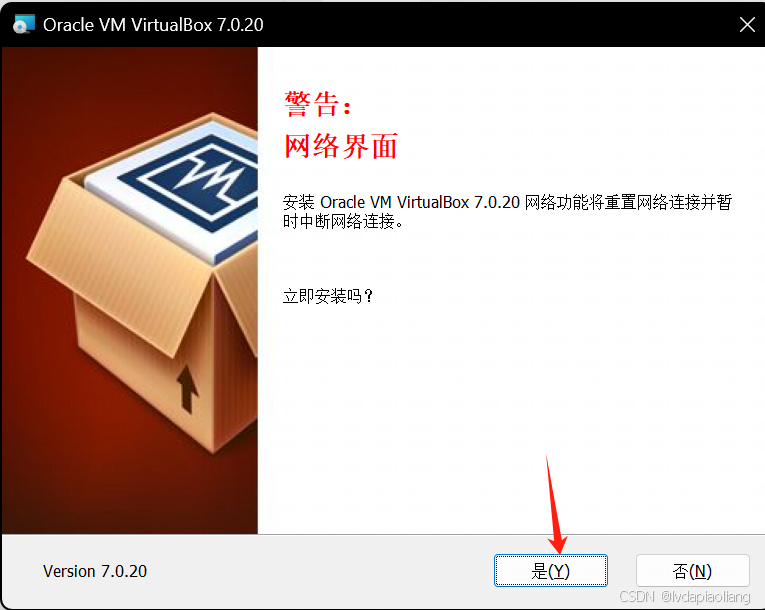
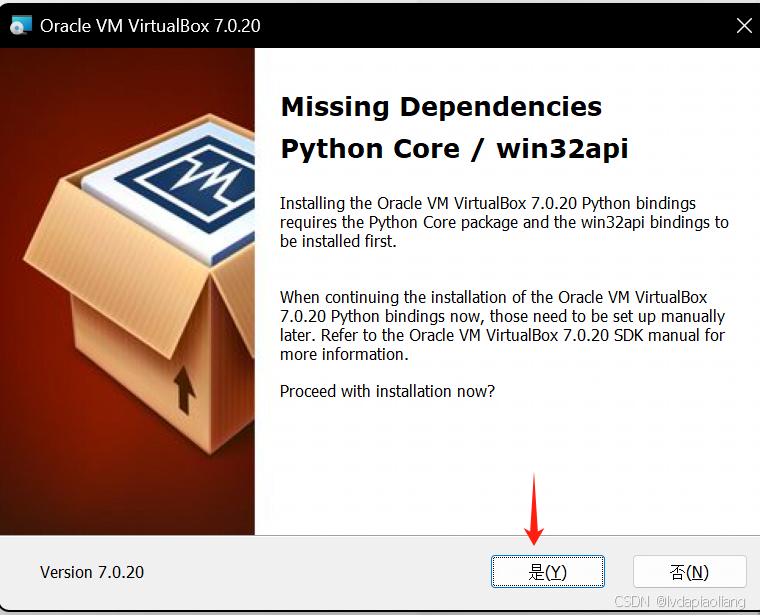
然后进行安装:
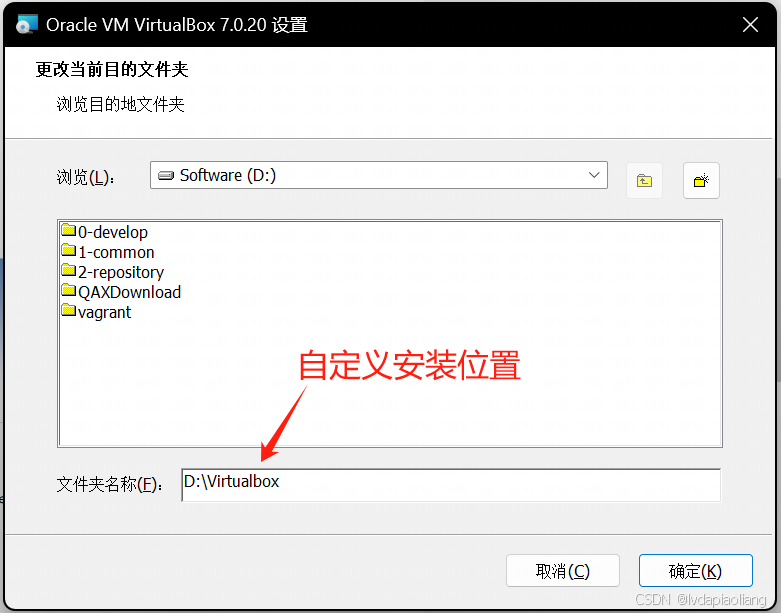
virtualbox默认是安装在c盘,我不想安装在c盘,修改到了d盘,在安装过程中出现了下面的报错:

然后在打开cmd命令行,执行下面官网说的命令:
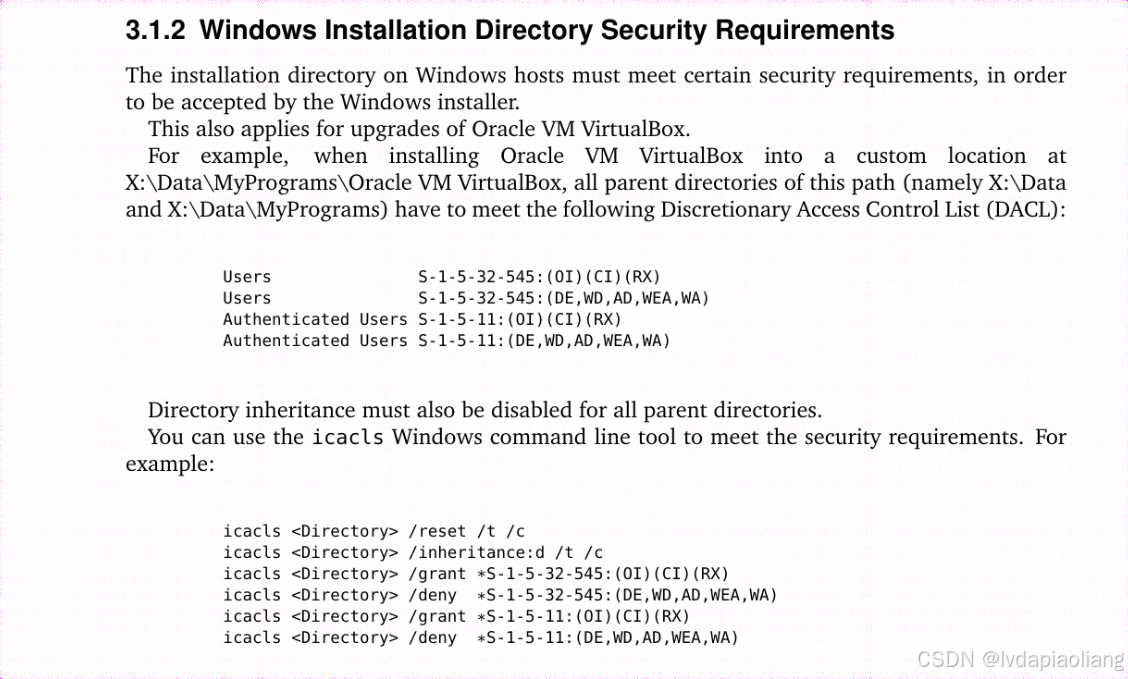
icacls D:\virtualbox /reset /t /c
icacls D:\virtualbox /inheritance:d /t /c
icacls D:\virtualbox /grant *S-1-5-32-545:(OI)(CI)(RX)
icacls D:\virtualbox /deny *S-1-5-32-545:(DE,WD,AD,WEA,WA)
icacls D:\virtualbox /grant *S-1-5-11:(OI)(CI)(RX)
icacls D:\virtualbox /deny *S-1-5-11:(DE,WD,AD,WEA,WA)
命令执行成功后继续接下来的步骤。

这样,virtualbox就安装完成了。安装完之后记得重启一下电脑。
2.3、使用Vagrant快速安装Centos stream 9虚拟机,并自动在在虚拟机中安装好docker。
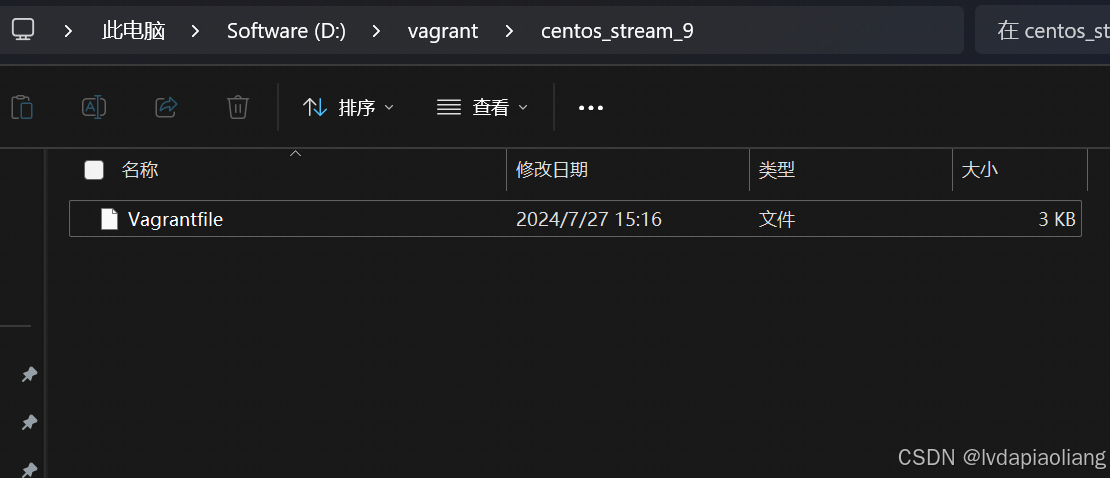
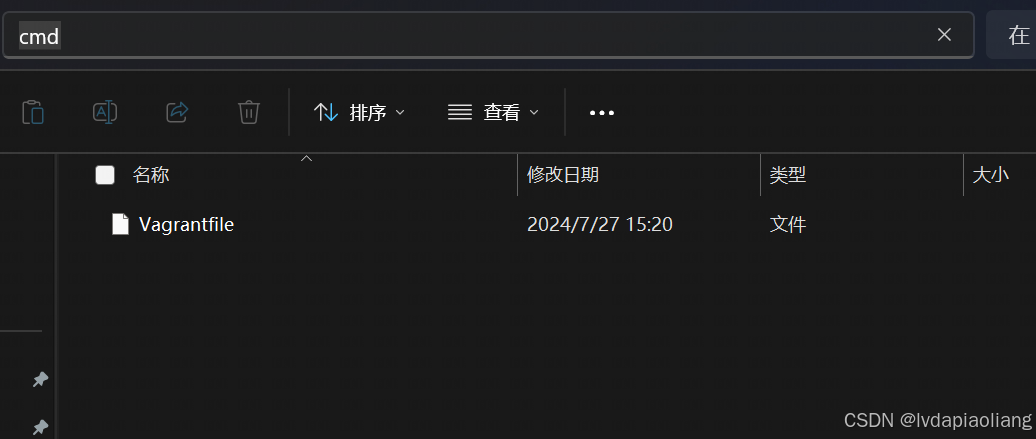
2.3.1、首先,在D盘创建一个vagrant的文件夹(可以自定义其他的目录),然后在文件夹中创建centos_stream_9的文件夹。然后创建名为:Vagrantfile的文件。注意这个文件就叫这个名字不能更改。
Vagrantfile的文件内容如下:
# -*- mode: ruby -*-
# vi: set ft=ruby :# All Vagrant configuration is done below. The "2" in Vagrant.configure
# configures the configuration version (we support older styles for
# backwards compatibility). Please don't change it unless you know what
# you're doing.
Vagrant.configure("2") do |config|# The most common configuration options are documented and commented below.# For a complete reference, please see the online documentation at# https://docs.vagrantup.com.# Every Vagrant development environment requires a box. You can search for# boxes at https://vagrantcloud.com/search.config.vm.box = "eurolinux-vagrant/centos-stream-9"config.vm.box_version = "9.0.45"# Disable automatic box update checking. If you disable this, then# boxes will only be checked for updates when the user runs# `vagrant box outdated`. This is not recommended.# config.vm.box_check_update = false# Create a forwarded port mapping which allows access to a specific port# within the machine from a port on the host machine. In the example below,# accessing "localhost:8080" will access port 80 on the guest machine.# NOTE: This will enable public access to the opened port# config.vm.network "forwarded_port", guest: 80, host: 8080# Create a forwarded port mapping which allows access to a specific port# within the machine from a port on the host machine and only allow access# via 127.0.0.1 to disable public access# config.vm.network "forwarded_port", guest: 80, host: 8080, host_ip: "127.0.0.1"# Create a private network, which allows host-only access to the machine# using a specific IP.# 指定虚拟机网络ip为:172.31.0.10config.vm.network "private_network", ip: "172.31.0.10"# Create a public network, which generally matched to bridged network.# Bridged networks make the machine appear as another physical device on# your network.# config.vm.network "public_network"# Share an additional folder to the guest VM. The first argument is# the path on the host to the actual folder. The second argument is# the path on the guest to mount the folder. And the optional third# argument is a set of non-required options.# config.vm.synced_folder "../data", "/vagrant_data"# Disable the default share of the current code directory. Doing this# provides improved isolation between the vagrant box and your host# by making sure your Vagrantfile isn't accessible to the vagrant box.# If you use this you may want to enable additional shared subfolders as# shown above.# config.vm.synced_folder ".", "/vagrant", disabled: true# Provider-specific configuration so you can fine-tune various# backing providers for Vagrant. These expose provider-specific options.# Example for VirtualBox:## config.vm.provider "virtualbox" do |vb|#   # Display the VirtualBox GUI when booting the machine#   vb.gui = true##   # Customize the amount of memory on the VM:#   vb.memory = "1024"# end## View the documentation for the provider you are using for more# information on available options.# Enable provisioning with a shell script. Additional provisioners such as# Ansible, Chef, Docker, Puppet and Salt are also available. Please see the# documentation for more information about their specific syntax and use.config.vm.provision "shell", inline: <<-SHELL# 1、Docker安装# 1.1、卸载旧版本dockersudo yum remove docker docker-client docker-client-latest docker-common docker-latest docker-latest-logrotate docker-logrotate docker-engine# 1.2、设置存储库sudo yum install -y yum-utilssudo yum-config-manager --add-repo http://mirrors.aliyun.com/docker-ce/linux/centos/docker-ce.repo# 1.3、安装 Docker Enginesudo yum install -y docker-ce docker-ce-cli containerd.io docker-buildx-plugin docker-compose-pluginsudo systemctl enable dockersudo systemctl start docker# 1.4、禁用防火墙sudo systemctl stop firewalldsudo systemctl disable firewalld# 1.5、修改 SSH 配置sudo sed -i 's/^#*PasswordAuthentication .*/PasswordAuthentication yes/' /etc/ssh/sshd_configsudo sed -i 's/^#*PermitRootLogin .*/PermitRootLogin yes/' /etc/ssh/sshd_config# 1.6、重启 SSH 服务sudo systemctl restart sshd.service# 1.7、修改 root 用户密码echo "root:1TdhblkFcdhx2a" | sudo chpasswd# 1.8、配置 Docker 镜像加速mkdir -p /etc/dockercat > /etc/docker/daemon.json <<EOF{"registry-mirrors": ["https://6kx4zyno.mirror.aliyuncs.com","https://registry.docker-cn.com"],"exec-opts": ["native.cgroupdriver=systemd"]}
EOFsudo systemctl daemon-reloadsudo systemctl restart docker# 2、配置非root用户(Docker)执行docker命令时不使用sudo。# 2.1、创建名为 "Docker" 的用户sudo useradd Docker# 2.2、设置 "Docker" 用户的密码echo "Docker:1TdhblkFcdhx2a" | sudo chpasswd# 2.3、创建名为 "docker" 的组sudo groupadd docker# 2.4、将用户 "Docker" 添加到组 "docker"sudo gpasswd -a Docker docker# 2.5、重启dockersudo systemctl restart dockerSHELL
end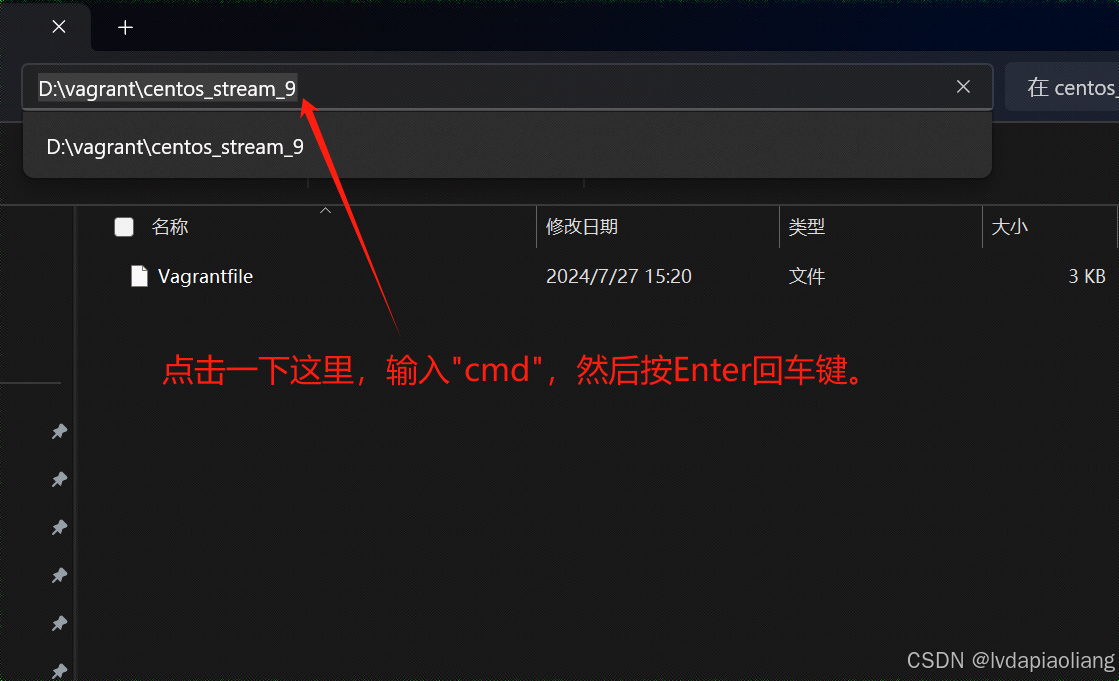
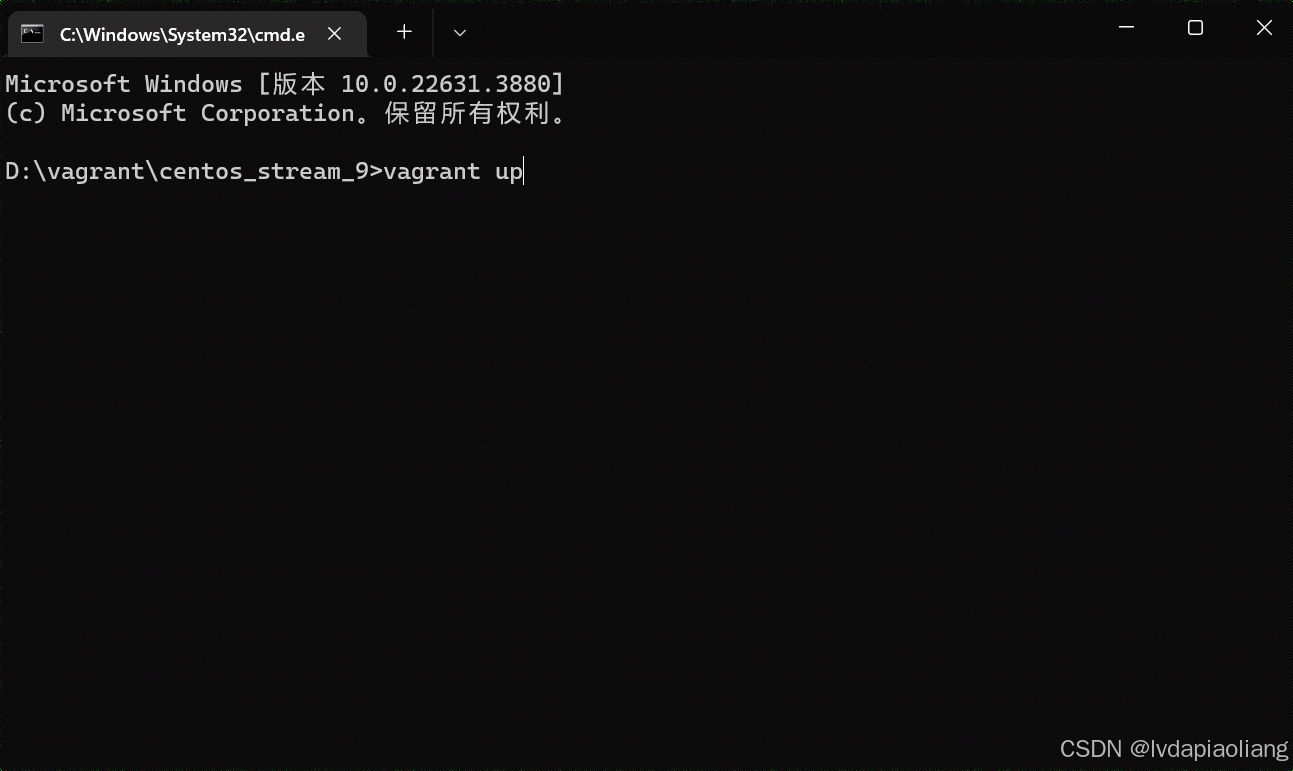
在弹出的cmd命令框中输入下面的命令:
vagrant up
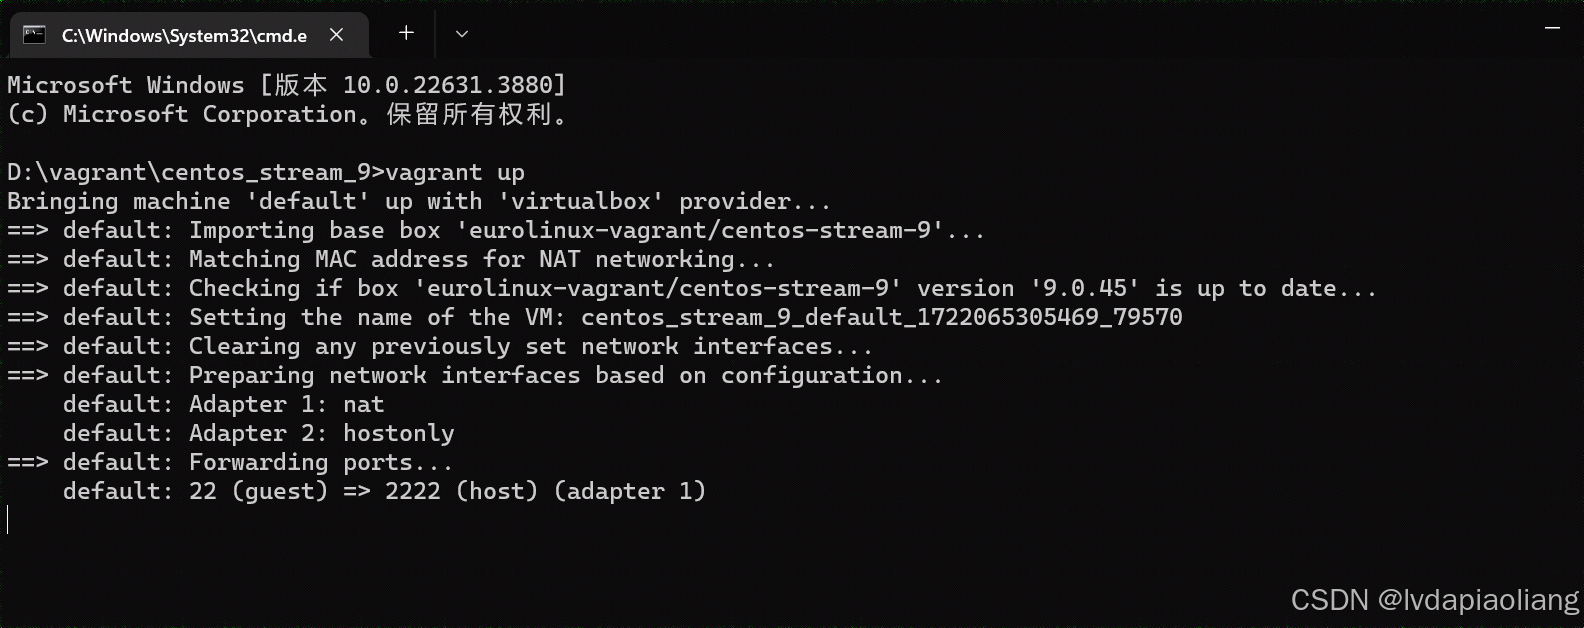
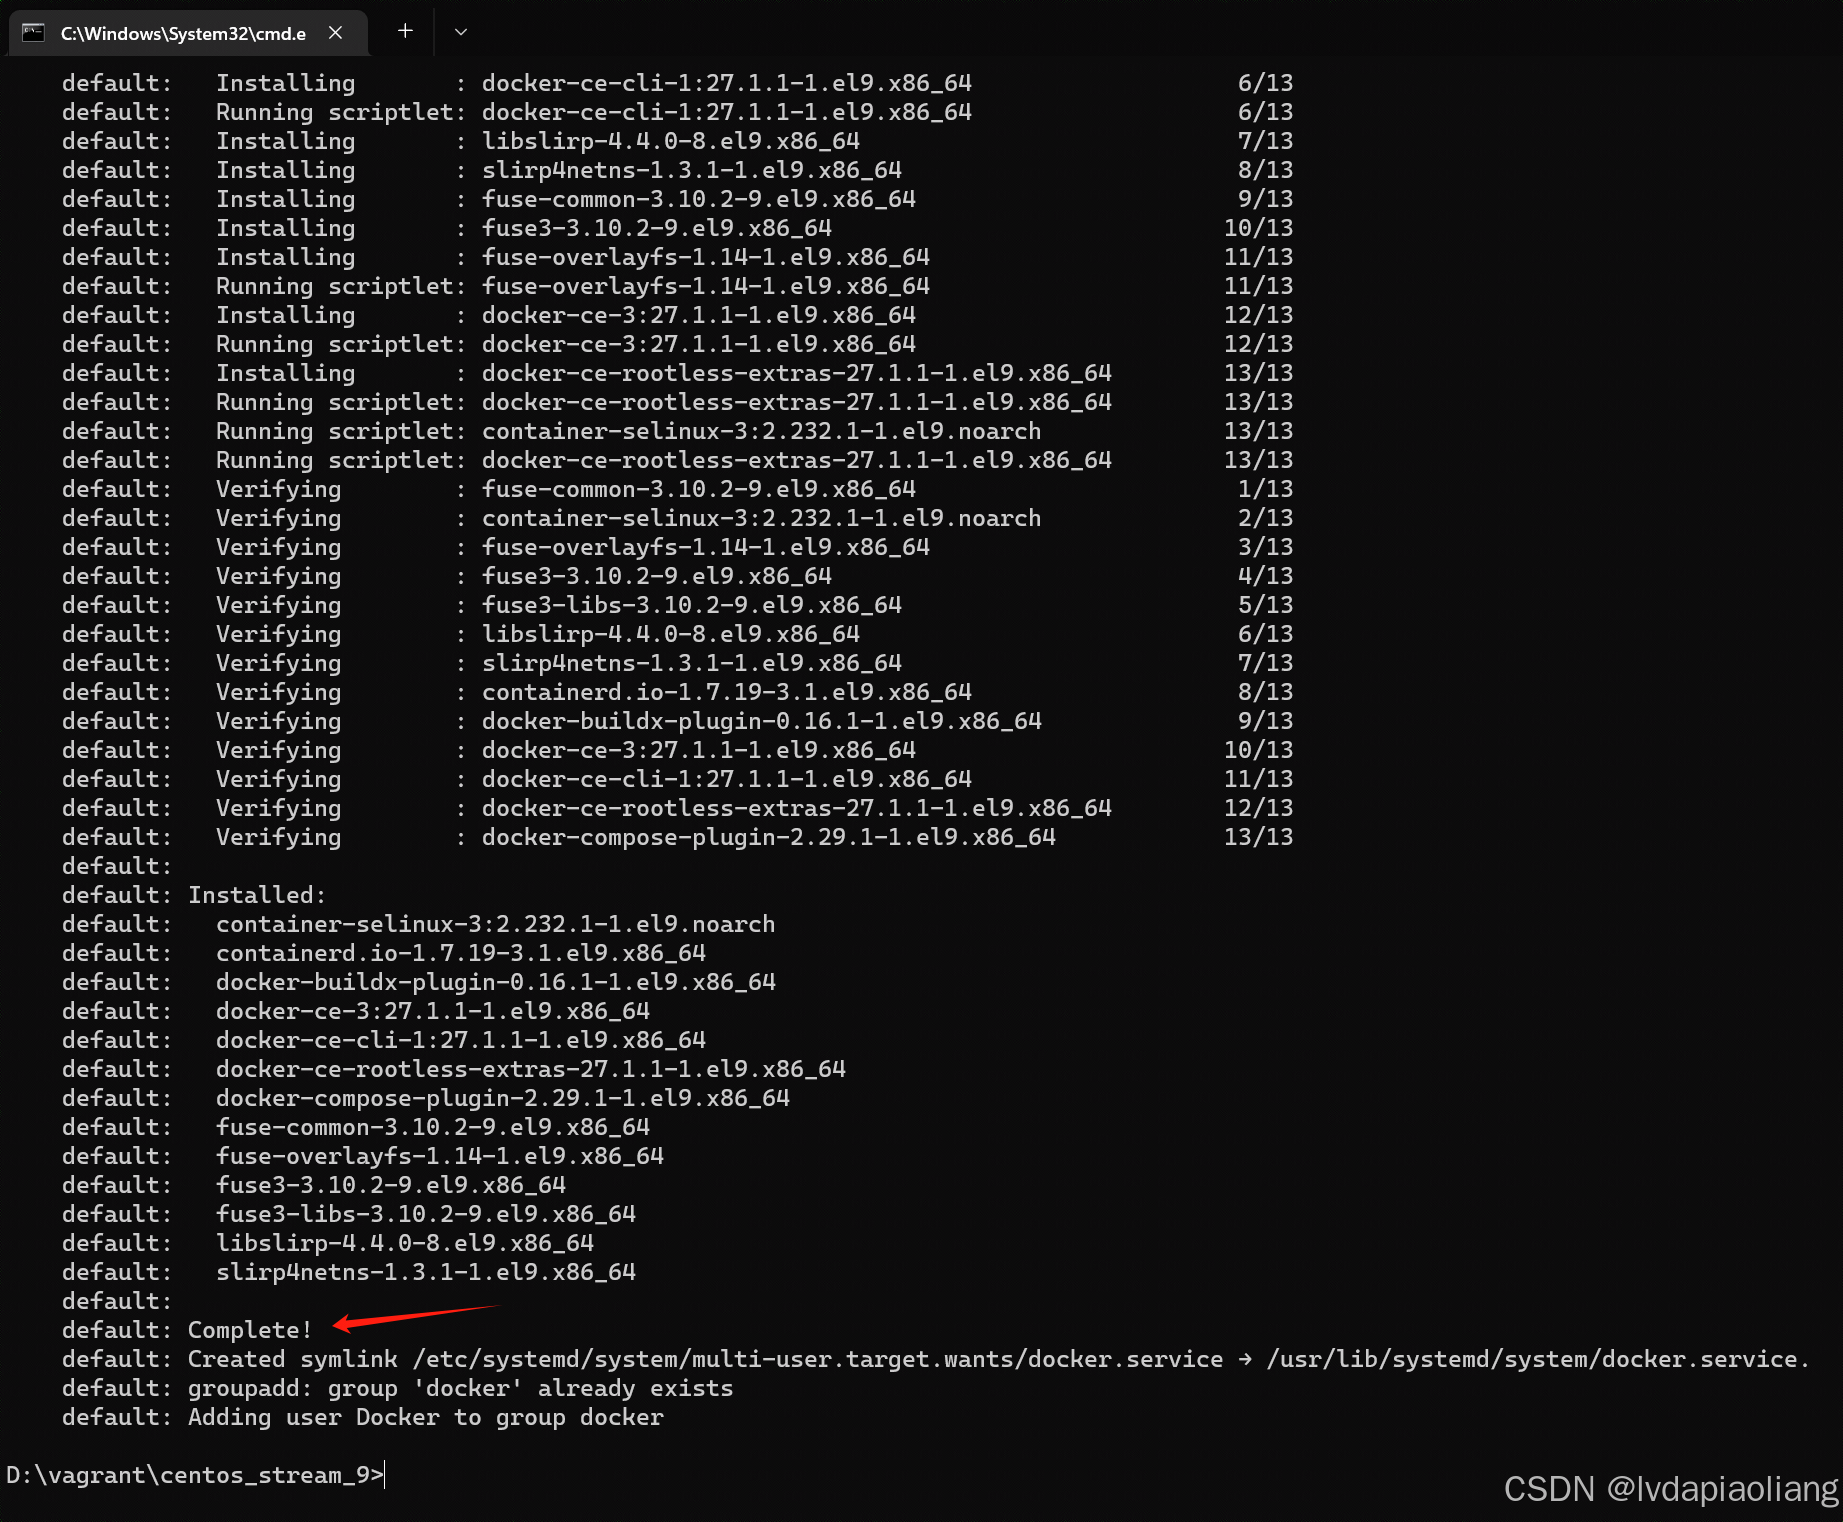
等待执行完之后,我们就可以得到一台安装好Docker并且运行的centos stream 9的虚拟机。第一次执行的时候因为会下载centos stream 9的镜像文件,所以会很慢,我大概等了20分钟。成功以后再次安装centos stream 9就很快了。
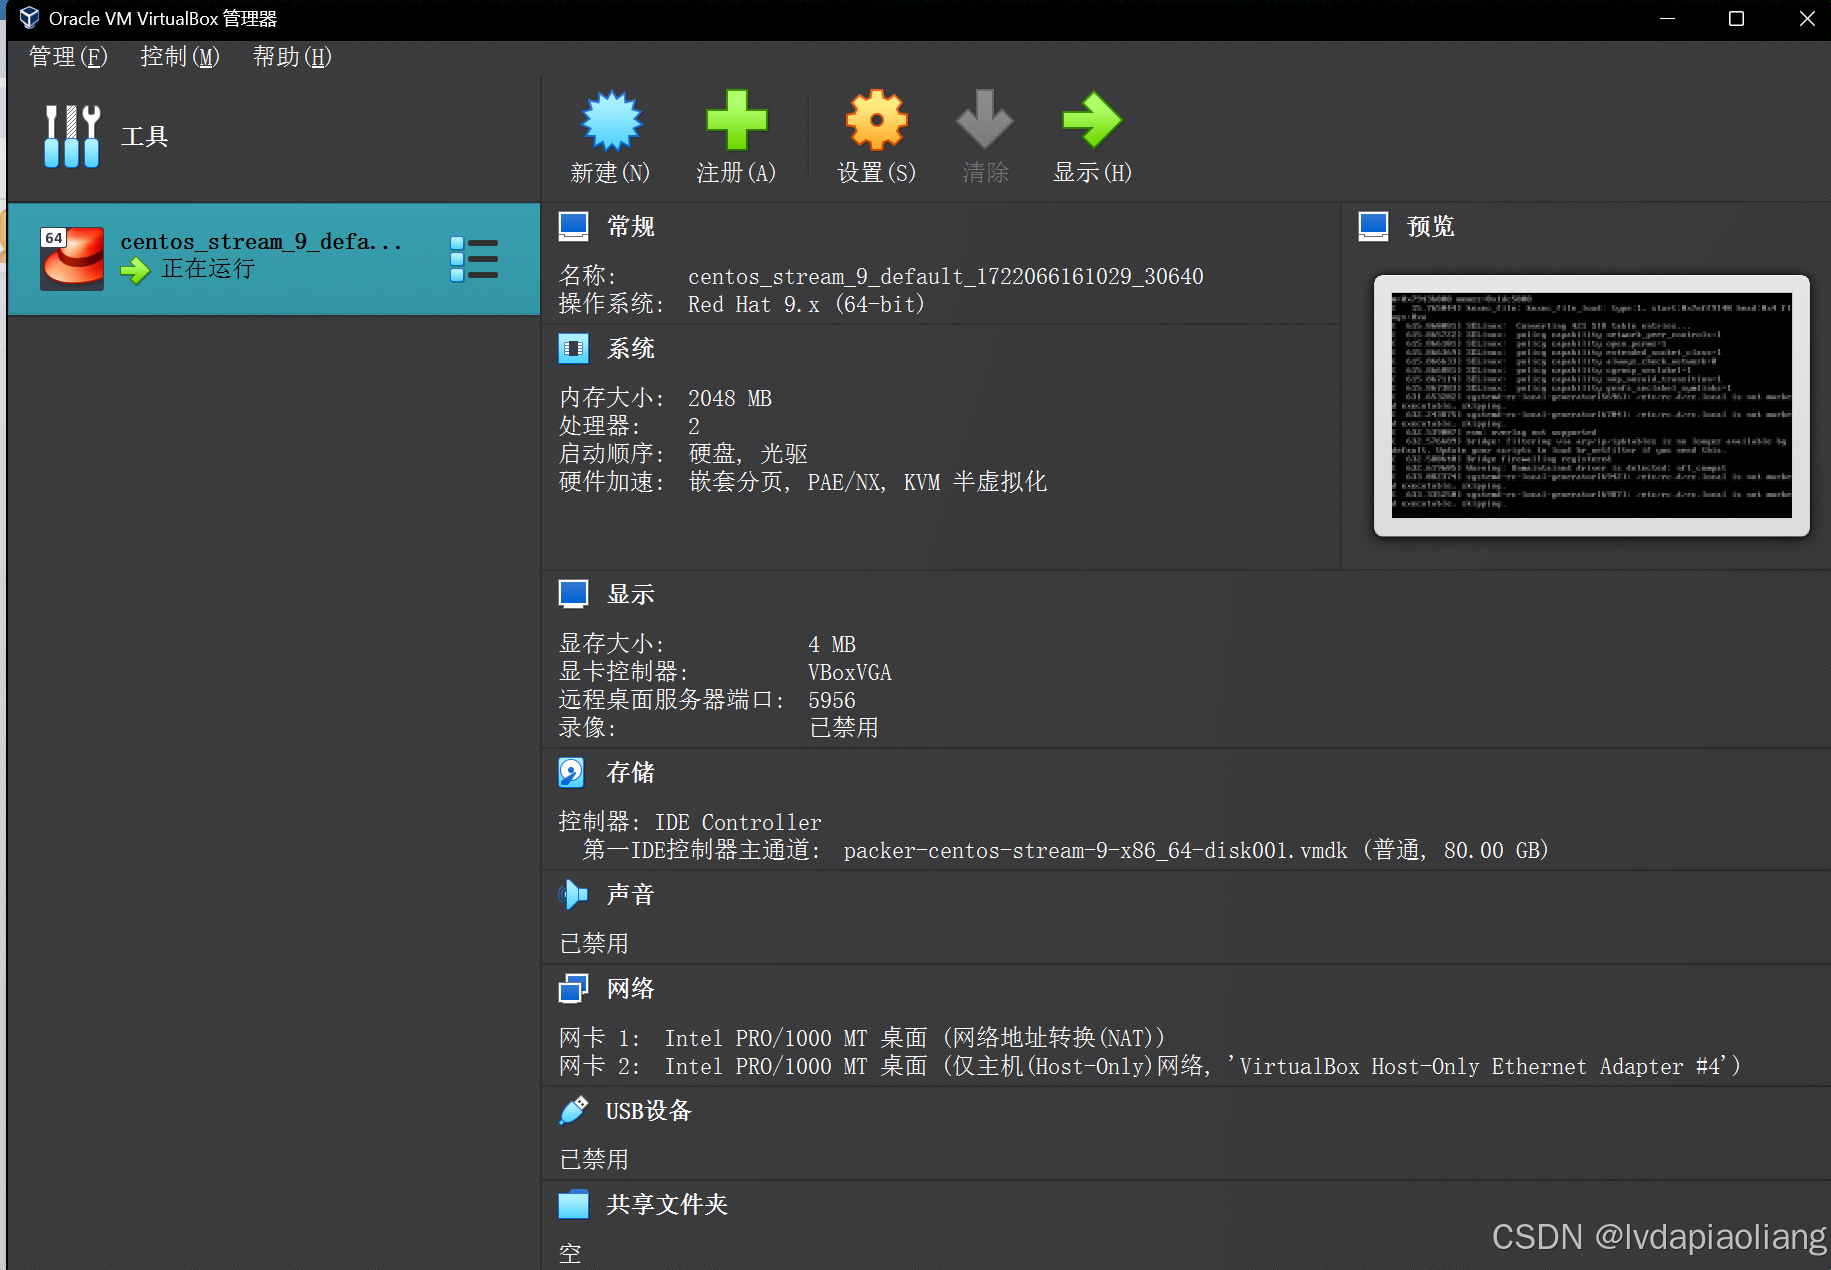
我们打开virtualbox,就可以看到这个虚拟机正在运行。
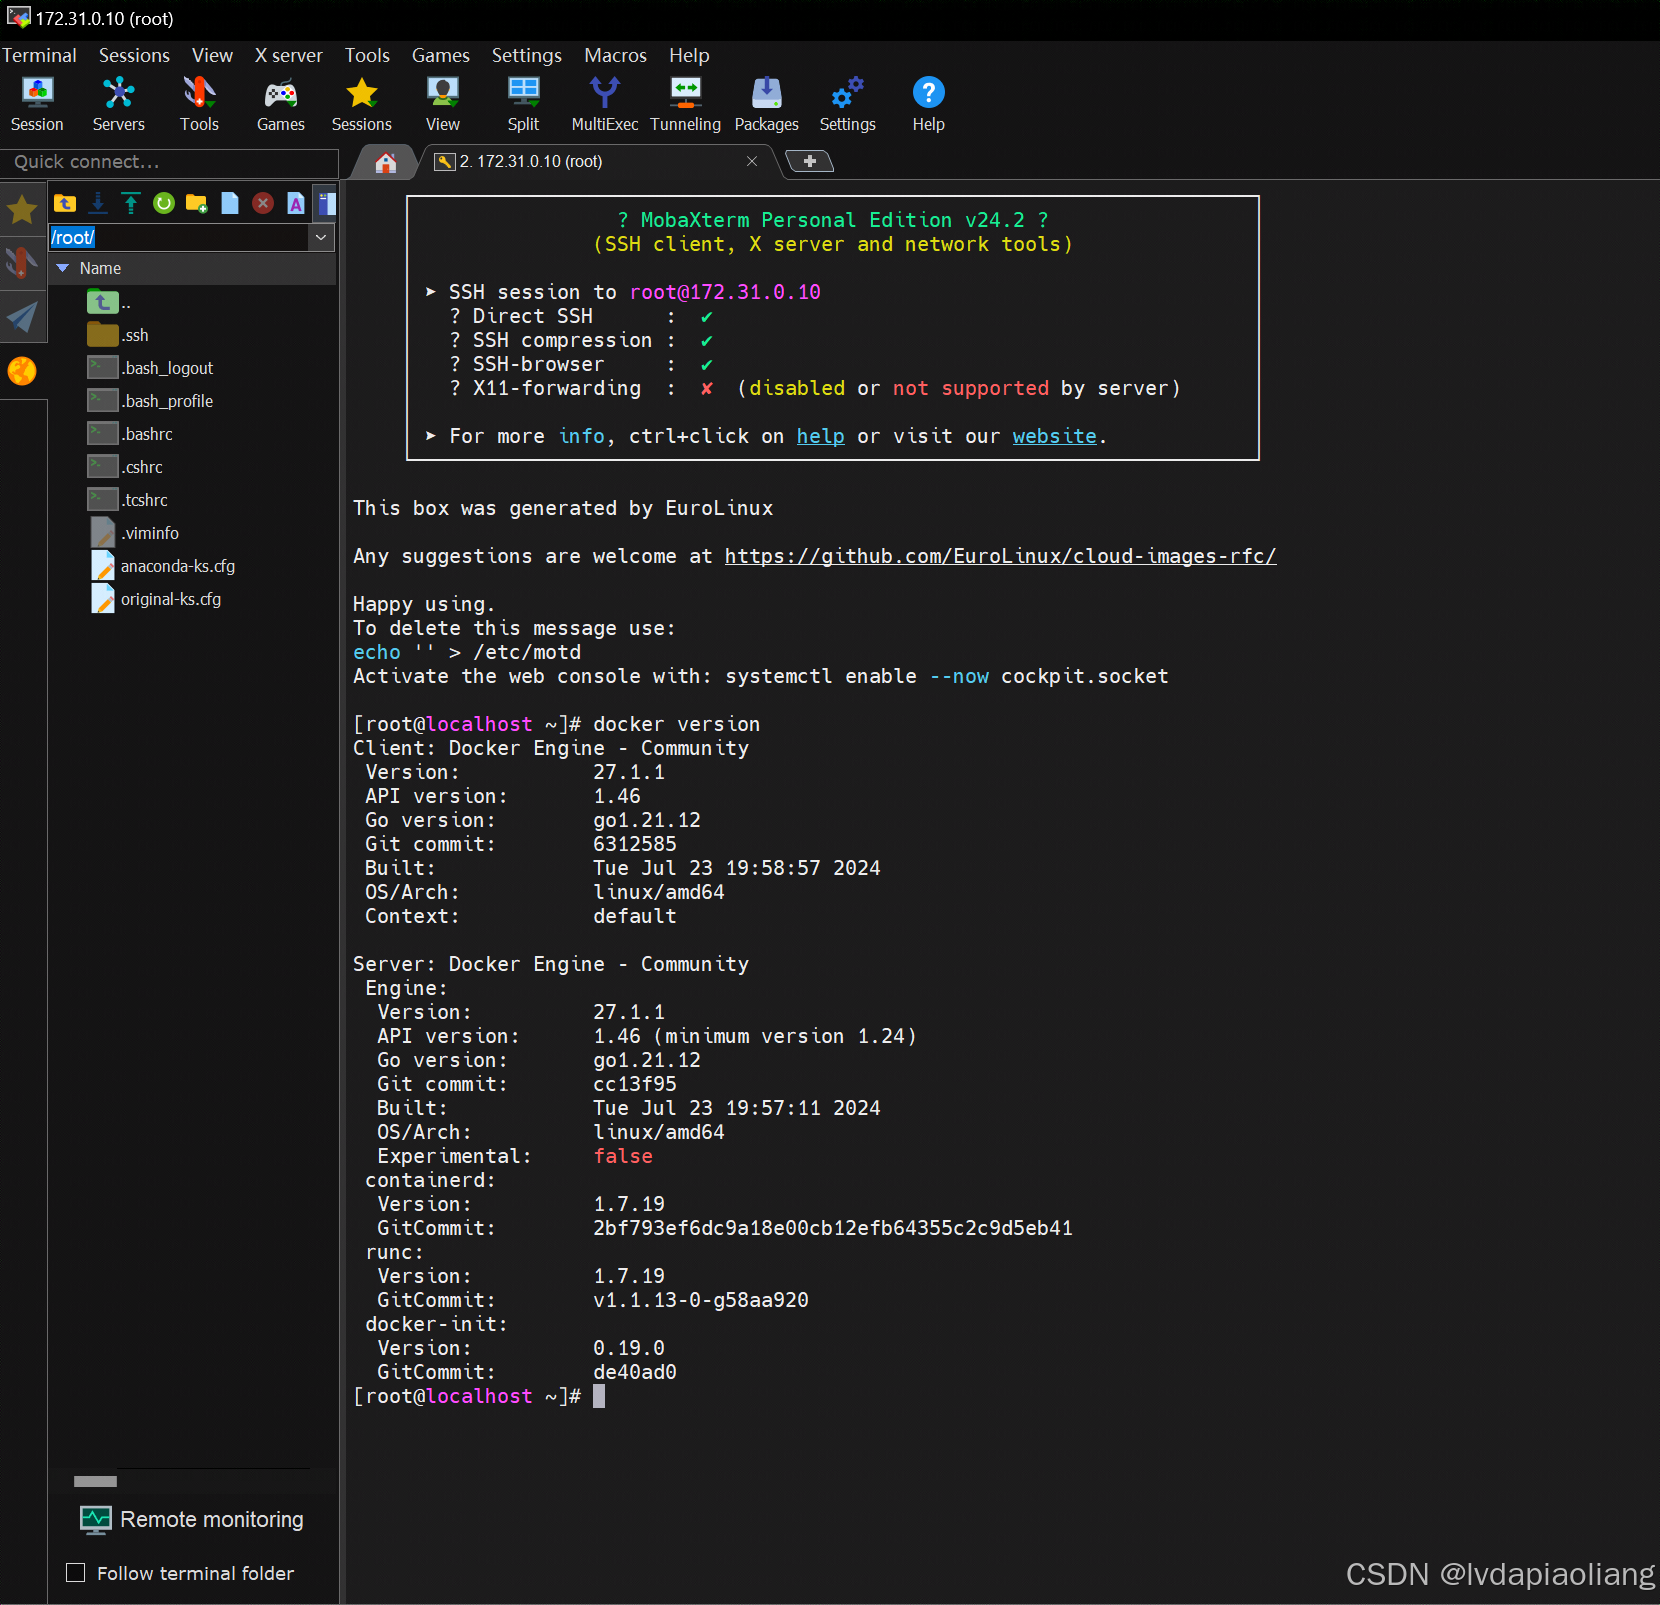
使用MobaXterm或者其他ssh工具连接这个虚拟机。
MobaXterm下载地址:MobaXterm free Xserver and tabbed SSH client for Windows
虚拟机连接信息如下:
IP:172.31.0.10
用户:root
密码:1TdhblkFcdhx2a
密码可能有些长,这样记忆:一条大河波浪宽,风吹稻花香两岸。
3、Kubernetes集群
Kubernetes官方文档地址:
3.1、通过kubeadm快速安装Kubernetes集群
Kubernetes从v1.4版本开始引入了命令行工具kubeadm,以简化集群的安装过程,到v1.13版本时,kubeadm已经达到GA阶段。
3.1.1、在安装kubeadm前,需要关闭Linux的系统交换分区(swap),这可以通过下面的命令实现:
#关闭swap
swapoff -a
sed -ri 's/.*swap.*/#&/' /etc/fstab

3.1.2、然后,将 SELinux 设置为 permissive 模式(相当于将其禁用)。
# 将 SELinux 设置为 permissive 模式(相当于将其禁用)
sudo setenforce 0
sudo sed -i 's/^SELINUX=enforcing$/SELINUX=permissive/' /etc/selinux/config

3.1.3、修改/etc/hosts文件,添加域名映射
# 所有机器添加master的域名映射,保证各个node节点可以ping通master。以下需要修改为自己的IP和域名。
echo "172.31.0.10 k8s-master" >> /etc/hosts
# 添加这个映射,解决后期calico网络插件安装的报错。
echo "185.199.111.133 raw.githubusercontent.com" >> /etc/hosts

3.1.4、允许 iptables 检查桥接流量
按照步骤执行下面的命令:
cat <<EOF | sudo tee /etc/modules-load.d/k8s.conf
overlay
br_netfilter
EOF

sudo modprobe overlay

sudo modprobe br_netfilter

cat <<EOF | sudo tee /etc/sysctl.d/k8s.conf
net.bridge.bridge-nf-call-ip6tables = 1
net.bridge.bridge-nf-call-iptables = 1
net.ipv4.ip_forward = 1
vm.swappiness = 0
EOF

sudo sysctl --system