1.添加用户
useradd dolphinscheduler
echo "dolphinscheduler" | passwd --stdin dolphinscheduler
sed -i '$adolphinscheduler  ALL=(ALL)  NOPASSWD: NOPASSWD: ALL' /etc/sudoers
sed -i 's/Defaults    requirett/#Defaults    requirett/g' /etc/sudoers
chown -R dolphinscheduler:dolphinscheduler apache-dolphinscheduler-*-bin
chmod -R 755 apache-dolphinscheduler-*-bin
#这里我用的是官网提供的3.1.9版本
2.配置jdk
su dolphinscheduler
ssh-keygen -t rsa -P '' -f ~/.ssh/id_rsa
cat ~/.ssh/id_rsa.pub >> ~/.ssh/authorized_keys
chmod 600 ~/.ssh/authorized_keys
#1.
export JAVA_HOME=/opt/apache-dolphinscheduler-3.1.9-bin/jdk1.8.0_321
export JRE_HOME=$JAVA_HOME/jre
export CLASSPATH=.:$JAVA_HOME/lib:$JRE_HOME/lib:$CLASSPATH
export PATH=$JAVA_HOME/bin:$JRE_HOME/bin:$PATH
3.启动zookeeper./bin/zkServer.sh start#2.创建mysql库
mysql -u root -p
mysql> CREATE DATABASE dolphinscheduler DEFAULT CHARACTER SET utf8 DEFAULT COLLATE utf8_general_ci;
mysql> GRANT ALL PRIVILEGES ON dolphinscheduler.* TO 'dolphinscheduler'@'%' IDENTIFIED BY '123456';
mysql> flush privileges;
#3将mysql驱动放置于各个目录
api-server/libs
alert-server/libs
master-server/libs
worker-server/libs#4配置脚本
vi /opt/apache-dolphinscheduler-3.1.9-bin/bin/env/install_env.sh
# ---------------------------------------------------------
# INSTALL MACHINE
# ---------------------------------------------------------
# Due to the master, worker, and API server being deployed on a single node, the IP of the server is the machine IP or localhost
ips="localhost"
sshPort="22"
masters="localhost"
workers="localhost:default"
alertServer="localhost"
apiServers="localhost"# DolphinScheduler installation path, it will auto-create if not exists
installPath=/opt/apache-dolphinscheduler-3.1.9-bin/dolphinscheduler# Deploy user, use the user you create in section **Configure machine SSH password-free login**
deployUser="dolphinscheduler"##
vi /opt/apache-dolphinscheduler-3.1.9-bin/bin/env/dolphinscheduler_env.sh
# 数据库连接配置
export DATABASE="mysql"
export SPRING_PROFILES_ACTIVE=${DATABASE}
export SPRING_SHARDINGSPHERE_ENABLED=true
export SPRING_SHARDINGSPHERE_DATASOURCE_DB1_DRIVER_CLASS_NAME="com.mysql.jdbc.Driver"
export SPRING_SHARDINGSPHERE_DATASOURCE_DB1_JDBC_URL="jdbc:mysql://localhost:3306/dolphinscheduler?useUnicode=true&characterEncoding=UTF-8&allowMultiQueries=true"
export SPRING_SHARDINGSPHERE_DATASOURCE_DB1_USERNAME="dolphinscheduler "
export SPRING_SHARDINGSPHERE_DATASOURCE_DB1_PASSWORD="123456"
export SPRING_DATASOURCE_DRIVER_CLASS_NAME="com.mysql.jdbc.Driver"
export SPRING_DATASOURCE_URL="jdbc:mysql://localhost:3306/dolphinscheduler?useUnicode=true&characterEncoding=UTF-8&allowMultiQueries=true"
export SPRING_DATASOURCE_USERNAME="dolphinscheduler "
export SPRING_DATASOURCE_PASSWORD="123456"# 注册中心配置
export REGISTRY_TYPE=zookeeper
export REGISTRY_ZOOKEEPER_CONNECT_STRING="localhost:2181"#数据库初始化
bash tools/bin/upgrade-schema.sh#安装
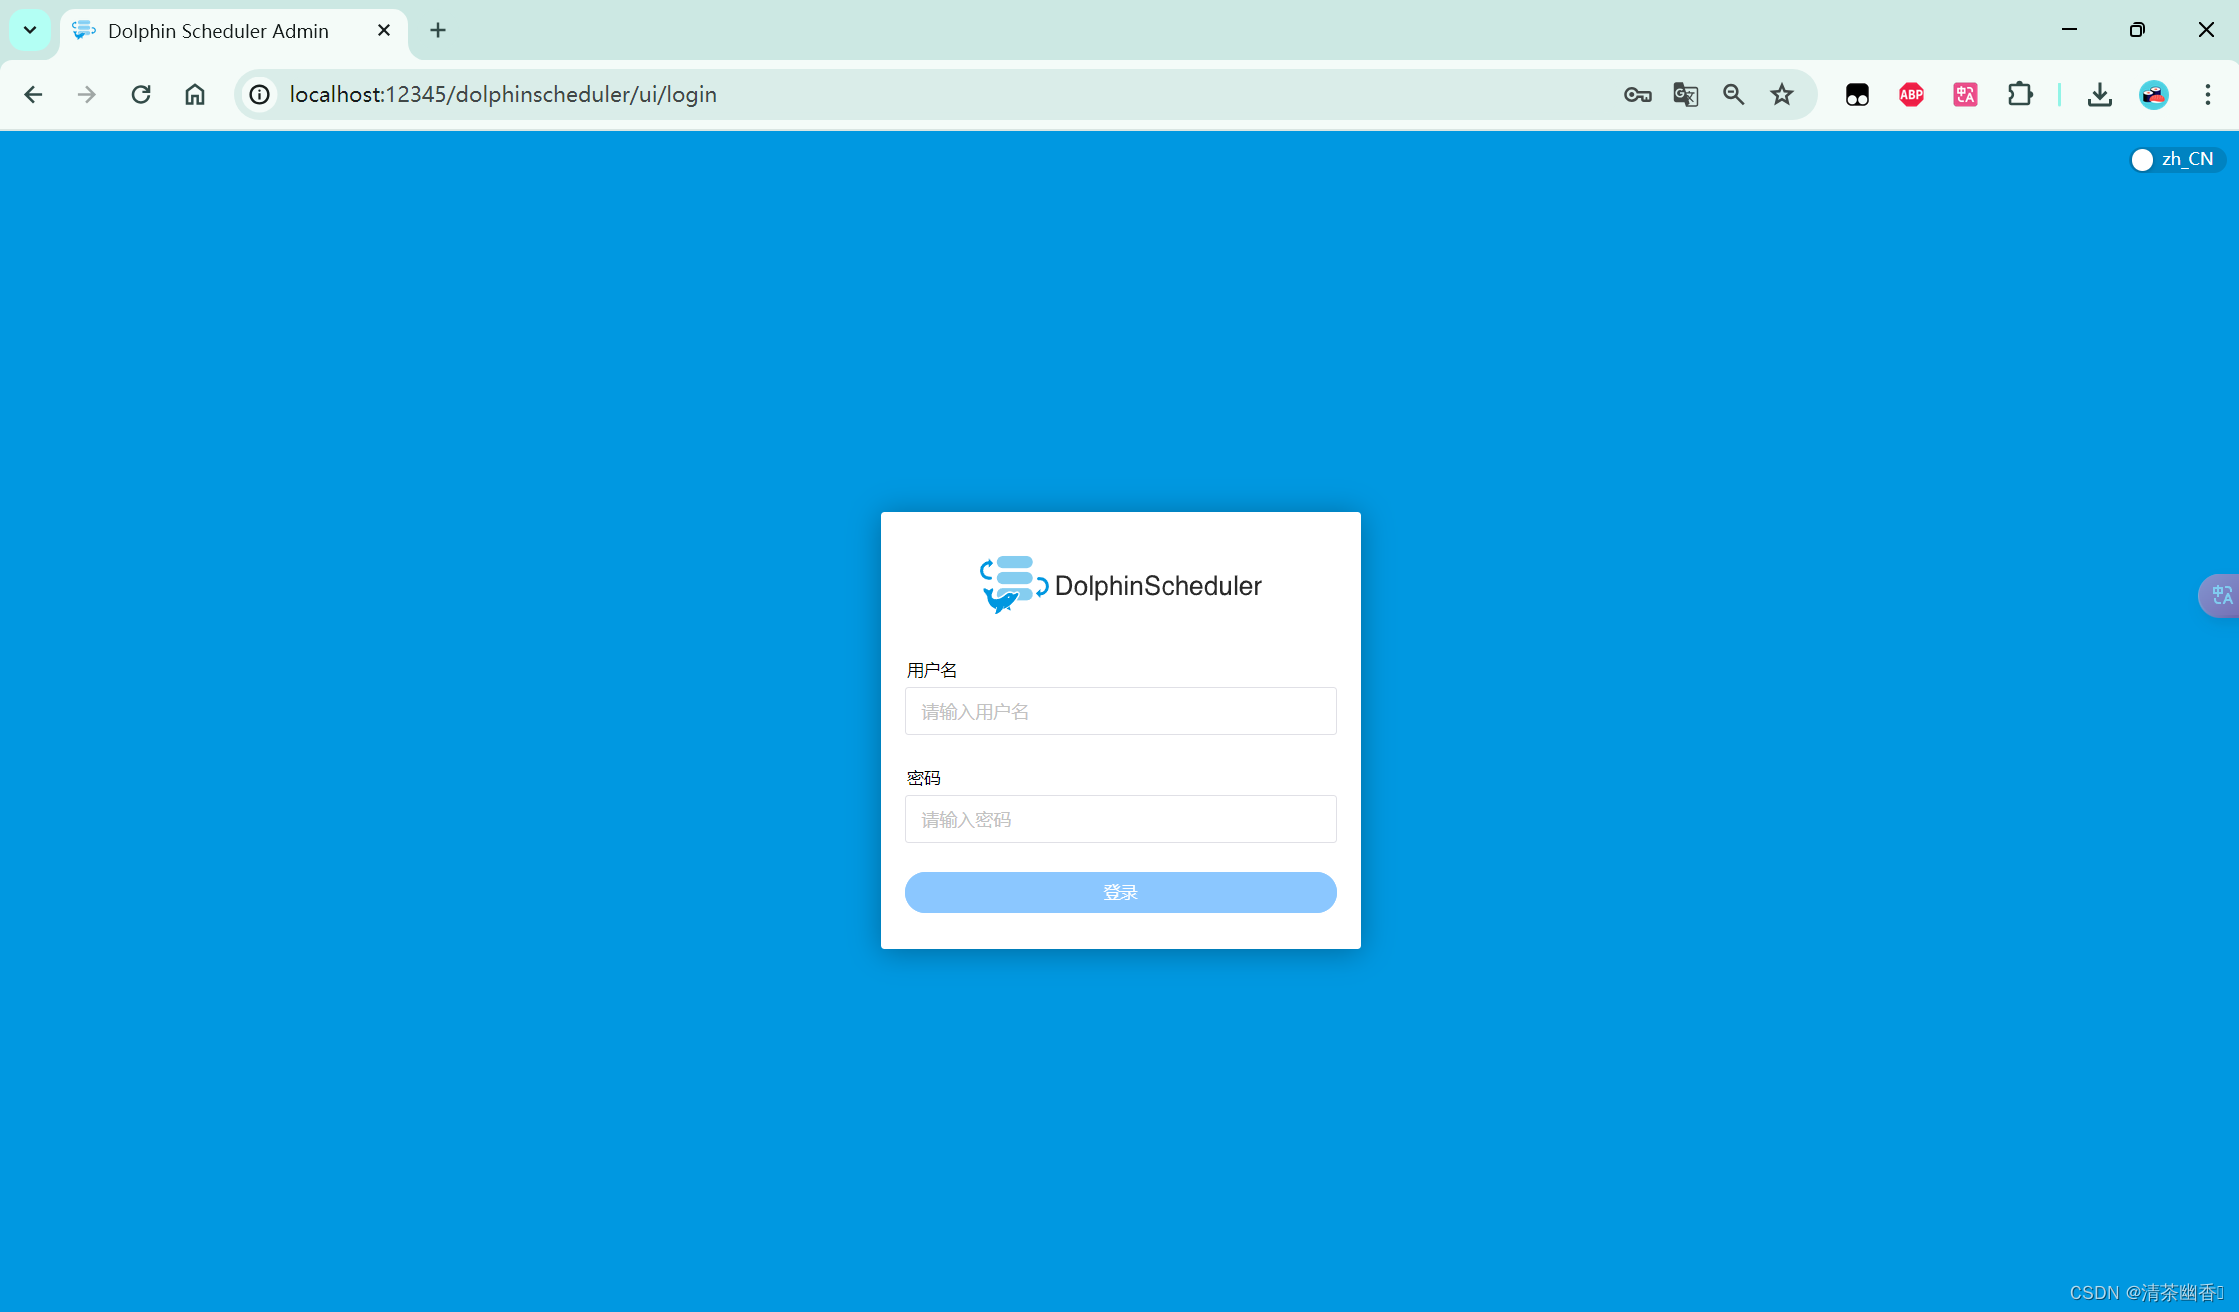
./bin/install.shweb界面
默认用户名密码
admin
dolphinscheduler123

添加seatunnel并把想要的连接器放进lib下


添加配置,重新启动即可,seatunnel就可正常使用了
vi dolphinscheduler_env.shexport SEATUNNEL_HOME=${SEATUNNEL_HOME:-/opt/apache-dolphinscheduler-3.1.9-bin/apache-seatunnel-2.3.5}


