ctx.drawImage的canvas绘图不清晰
原因:
查资料是这么说的:canvas 绘图时,会从两个物理像素的中间位置开始绘制并向两边扩散 0.5 个物理像素。当设备像素比为 1 时,一个 1px 的线条实际上占据了两个物理像素(每个像素实际上只占一半),由于不存在 0.5 个像素,所以这两个像素本来不应该被绘制的部分也被绘制了,于是 1 物理像素的线条变成了 2 物理像素,视觉上就造成了模糊。
devicePixelRati与webkitBackingStorePixelRatio区别
devicePixelRatio 和 webkitBackingStorePixelRatio 都与屏幕上的像素密度和绘图有关,但它们在实际用途和浏览器的兼容性方面有一些区别。
-
devicePixelRatio:
devicePixelRatio是一个用于表示设备上物理像素与 CSS 像素之间比率的属性。它告诉你在渲染页面时,一个 CSS 像素对应多少个物理像素。- 在标准的 JavaScript 中,你可以通过
window.devicePixelRatio来获取这个值。 - 例如,如果
devicePixelRatio的值为 2,表示每个 CSS 像素对应设备上的 2 个物理像素,这通常出现在高密度屏幕(如Retina屏幕)上。
-
webkitBackingStorePixelRatio:
webkitBackingStorePixelRatio是一个 WebKit(现在在很多浏览器中也被支持)私有的属性,用于表示绘图表面(如Canvas)的缓冲区像素比率。- 这个属性通常用于在高分辨率设备上绘制图形时,确保图形质量和性能的平衡。在 Retina 屏幕上,使用这个属性可以绘制高清晰度的图形,而不会降低性能。
- 你可以通过
context.webkitBackingStorePixelRatio来获取这个值。
使用示例:
// 获取 devicePixelRatio
var devicePixelRatio = window.devicePixelRatio || 1;// 获取 webkitBackingStorePixelRatio
var backingStoreRatio = context.webkitBackingStorePixelRatio || 1;// 设置 Canvas 的缩放比例,确保在高密度屏幕上有更好的显示效果
var ratio = devicePixelRatio / backingStoreRatio;canvas.width = canvas.width * ratio;
canvas.height = canvas.height * ratio;// 缩放 Canvas 上下文,使得图形在高密度屏幕上有更好的显示效果
context.scale(ratio, ratio);
vue使用实例。解决canvas图片绘制模糊问题
<template><div class="wrapper"><img src="https://pic3.zhimg.com/80/v2-ab763f22d99ea793b55d57f2051ceac2_1440w.webp" alt="" id="zone" :style="{width:`${width}px`,height:`${height}px`}"><canvas id="one"></canvas></div>
</template><script>
export default {components: {},props: {},data:()=>({imgUrl:require('@/assets/tile.jpeg'),width:512,height:512}),watch: {},computed: {},methods: {init(){var img = document.getElementById("zone");var c = document.getElementById("one");var ctx = c.getContext("2d");var ratio = this.getPixelRatio(ctx);img.onload = ()=>{// 【重要】关闭抗锯齿ctx.mozImageSmoothingEnabled = false;ctx.webkitImageSmoothingEnabled = false;ctx.msImageSmoothingEnabled = false;ctx.imageSmoothingEnabled = false;c.width = 512*ratio;c.height = 512*ratio;//  c.width = 512;// c.height = 512;// ctx.drawImage(img,0,0,this.width,this.height);ctx.drawImage(img,0,0,this.width*ratio,this.height*ratio);ctx.scale(ratio, ratio);}},getPixelRatio(context){let backingStore = context.backingStorePixelRatio ||context.webkitBackingStorePixelRatio ||context.mozBackingStorePixelRatio ||context.msBackingStorePixelRatio ||context.oBackingStorePixelRatio ||context.backingStorePixelRatio || 1;return (window.devicePixelRatio || 1) / backingStore;}},created() {},mounted() {this.init()}
};
</script>
<style lang="less" scoped>
.wrapper{box-sizing: border-box;border: 1px solid rgb(8, 0, 0);position: relative;margin: 0 auto;#zone{}#one{transform: translateX(20px);}#two{cursor: crosshair;}
}
</style>
至此细节处理的比较好了
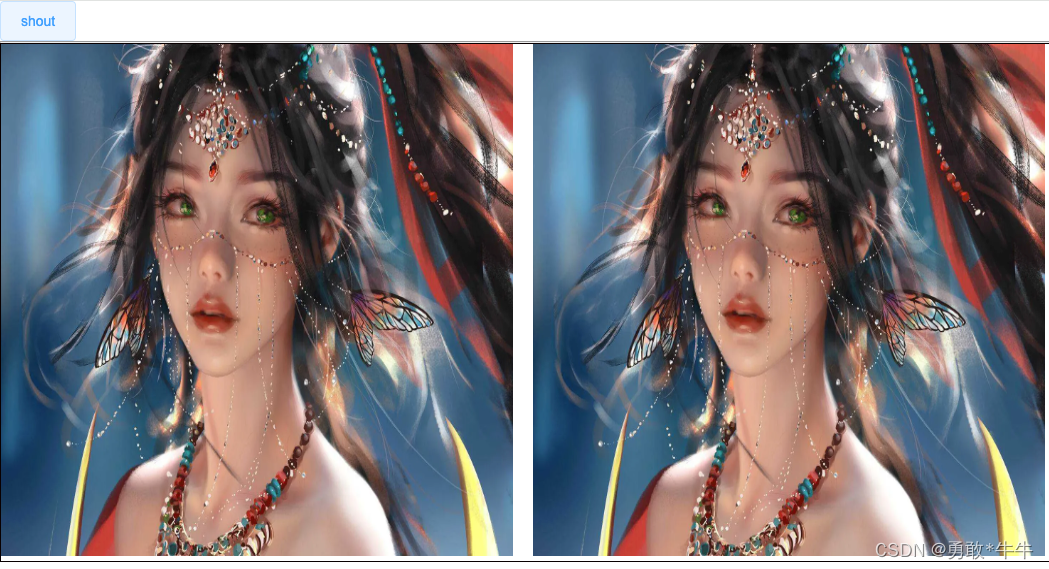
解决canvas导出图片模糊的方法
// 解决导出图片模糊的方法toBeCanvas() {var copyDom = $("#canvasQR");var width = copyDom.offsetWidth; //dom宽var height = copyDom.offsetHeight; //dom高var scale = 2; //放大倍数html2canvas(this.$refs['order'], {dpi: window.devicePixelRatio * 2,scale: scale,width: width,heigth: height,}).then(canvas => {const context = canvas.getContext('2d');// 【重要】关闭抗锯齿context.mozImageSmoothingEnabled = false;context.webkitImageSmoothingEnabled = false;context.msImageSmoothingEnabled = false;context.imageSmoothingEnabled = false;var url = canvas.toDataURL();var triggerDownload = $("<a>").attr("href", url).attr("download", "详情.png").appendTo("body");triggerDownload[0].click();triggerDownload.remove();});},
