一、下载安装包
下载vmware安装包和Centos的镜像光盘Centos下载路径
这里使用的vmware版本是vmware 16 pro,centos版本是centos 8.3
二、安装虚拟机和centos
vmware安装很简单,这里主要说下centos的安装过程。
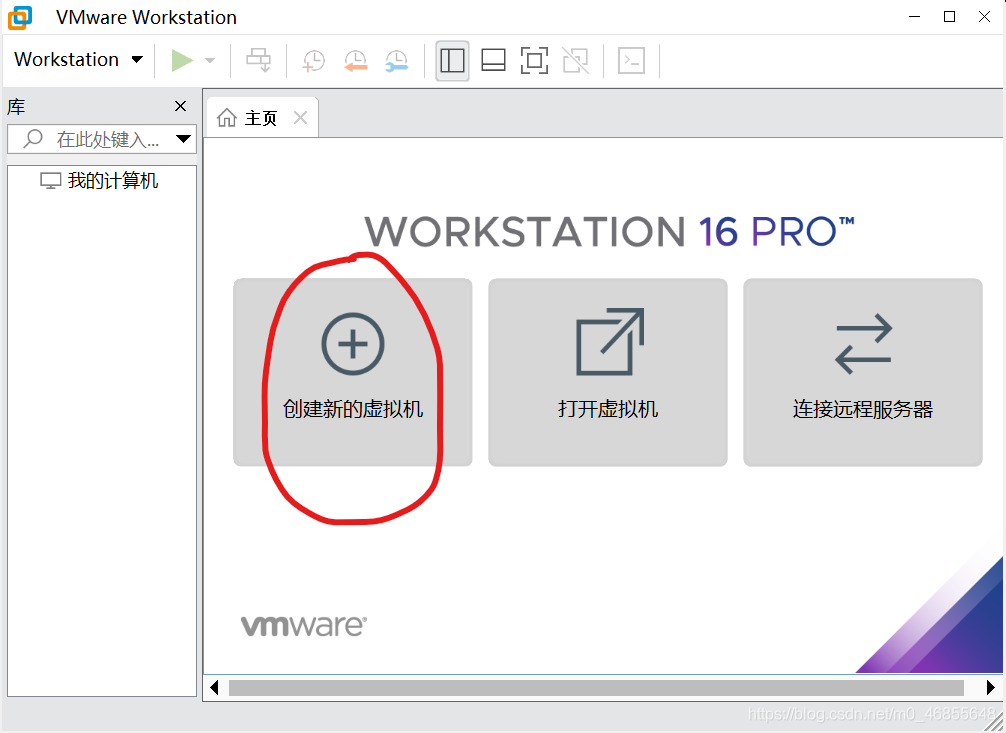
1、vmware已经安装完毕,打开vmware,在主页中点击创建新的虚拟机
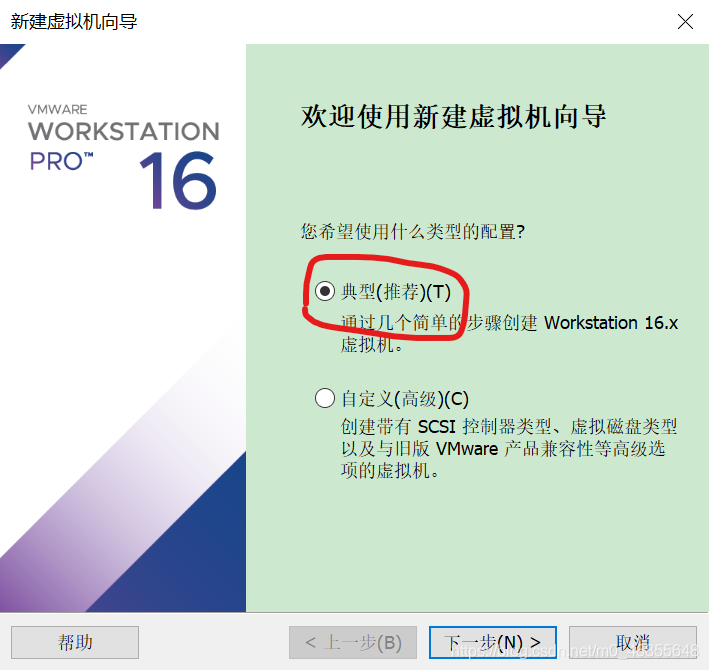
2、在弹出界面中选择配置类型为典型,下一步
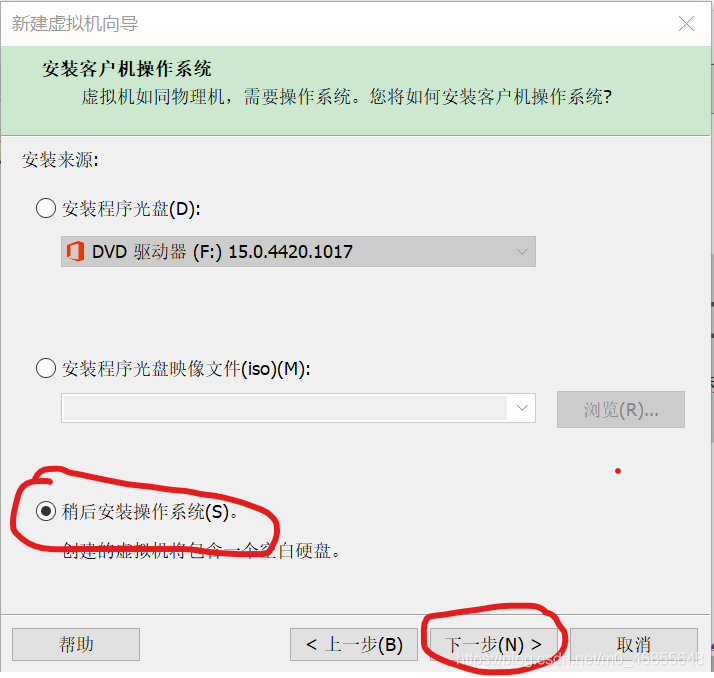
3、选择最后一项:稍后安装操作系统,点击下一步
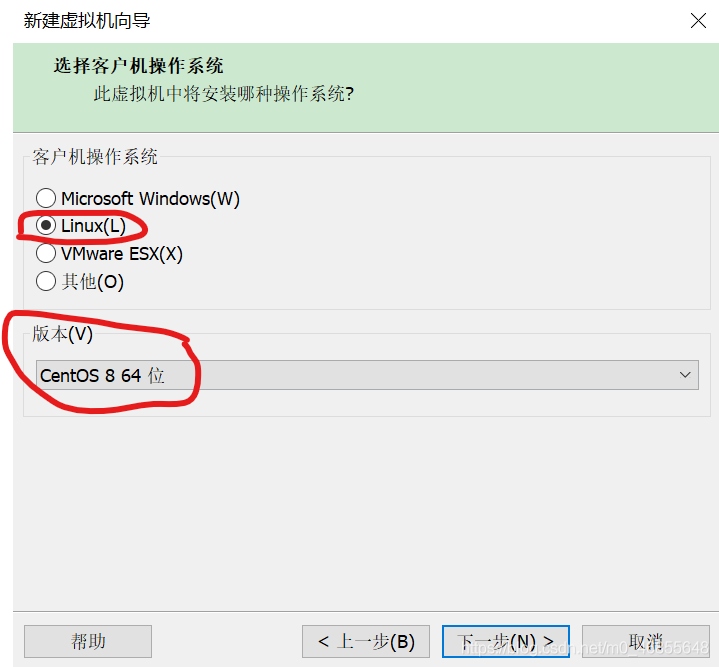
4、选择客户机操作系统为Linux,版本选择CentOS 8 64位(选择Linux 4.x 64位也行),点击下一步
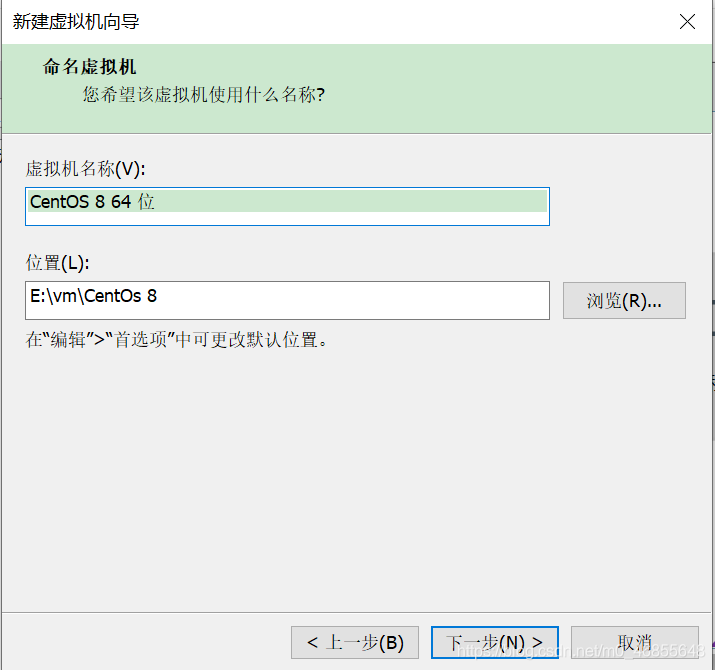
5、为虚拟机命名,以及选择安装位置
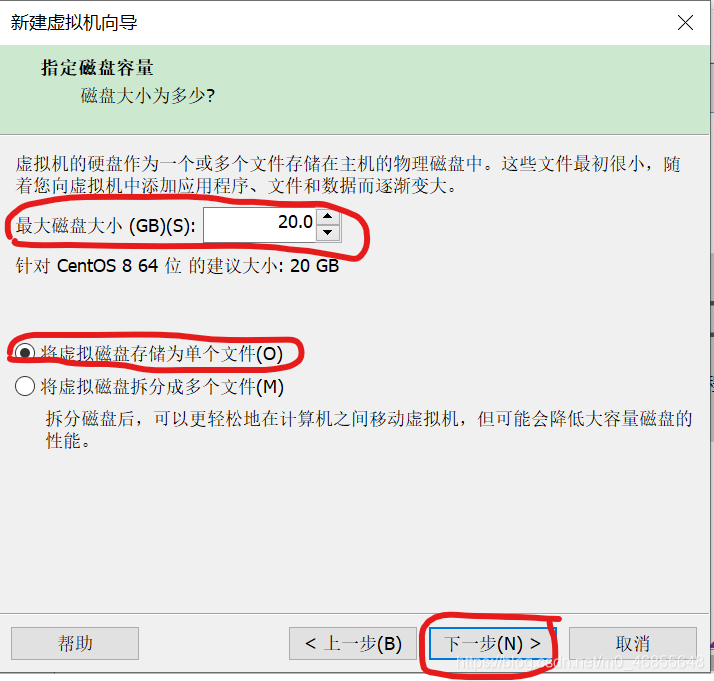
6、最大磁盘大小这里设置为20g,下方选择第一个选项,将虚拟磁盘存储为单个文件,点击下一步
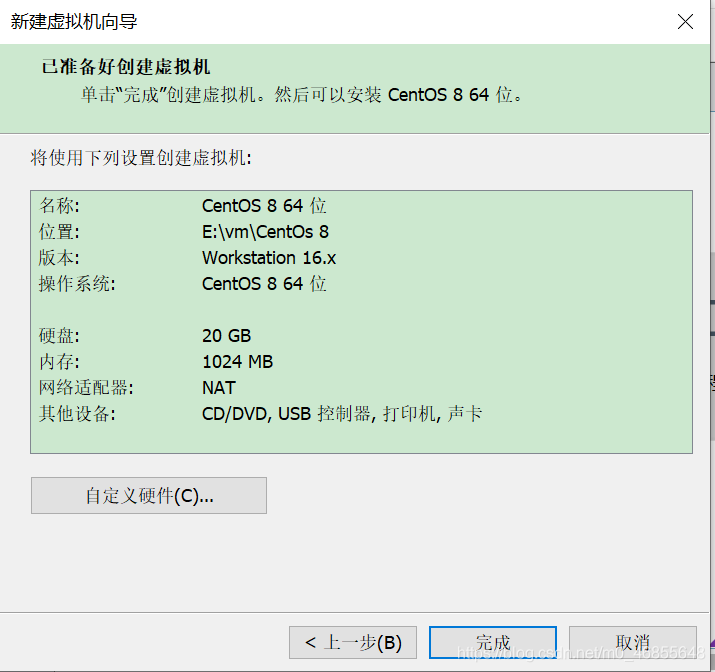
7、可以看到虚拟机配置,点击完成
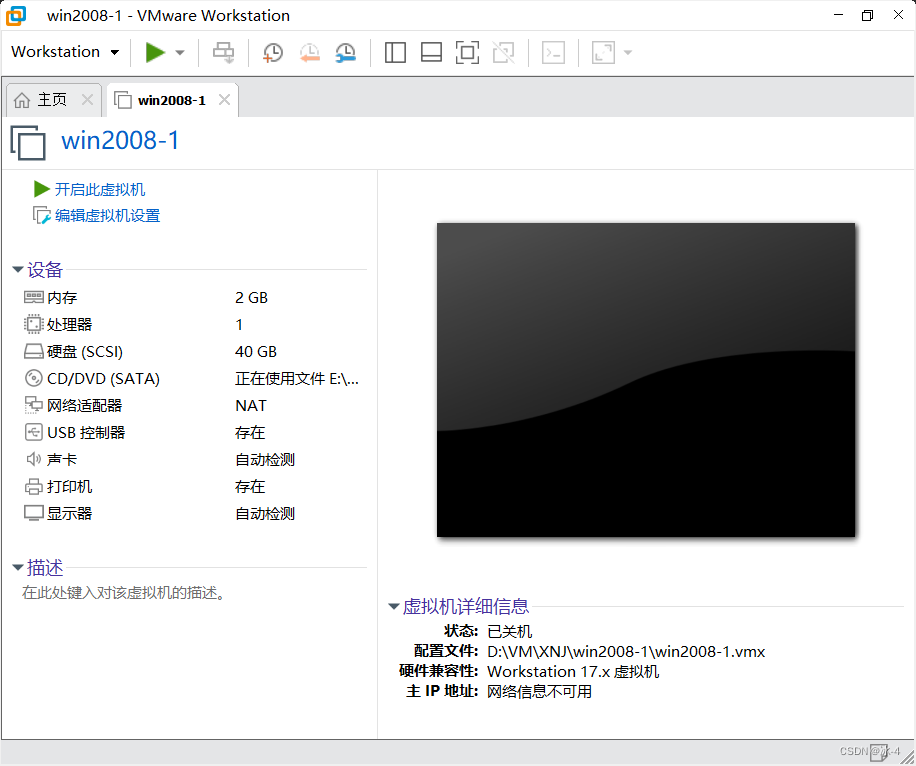
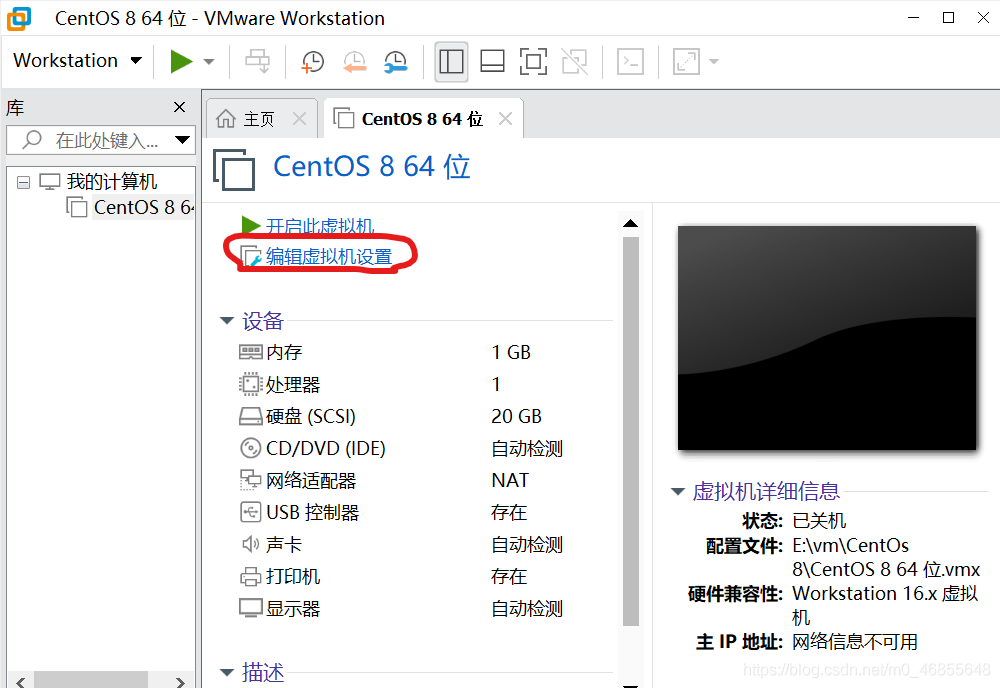
8、创建完成后可以看到左侧选项卡中有刚刚创建的虚拟机,打开后点击编辑虚拟机设置
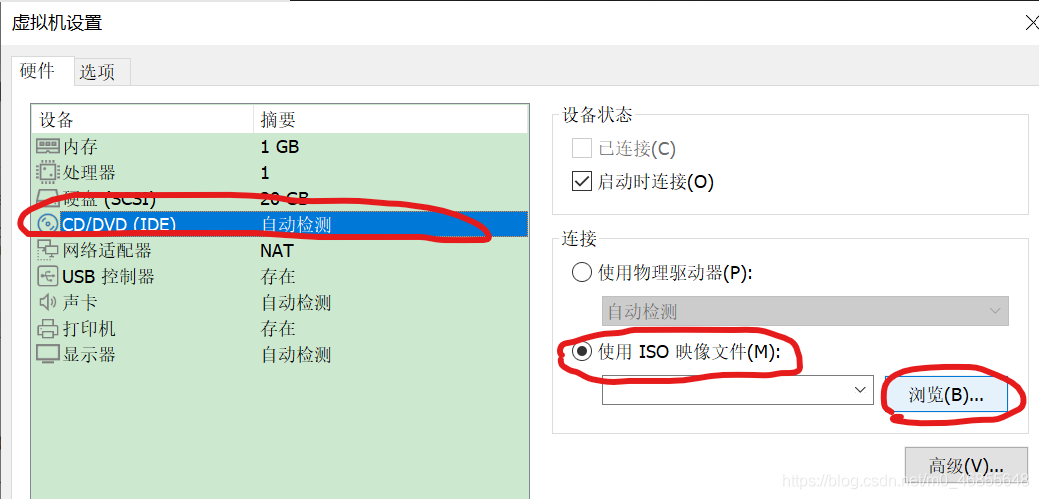
9、打开虚拟机设置后,选中CD/DVD选项,在窗口右侧选中使用ISO映像文件,在浏览中找到刚刚下载的centos镜像文件所在路径
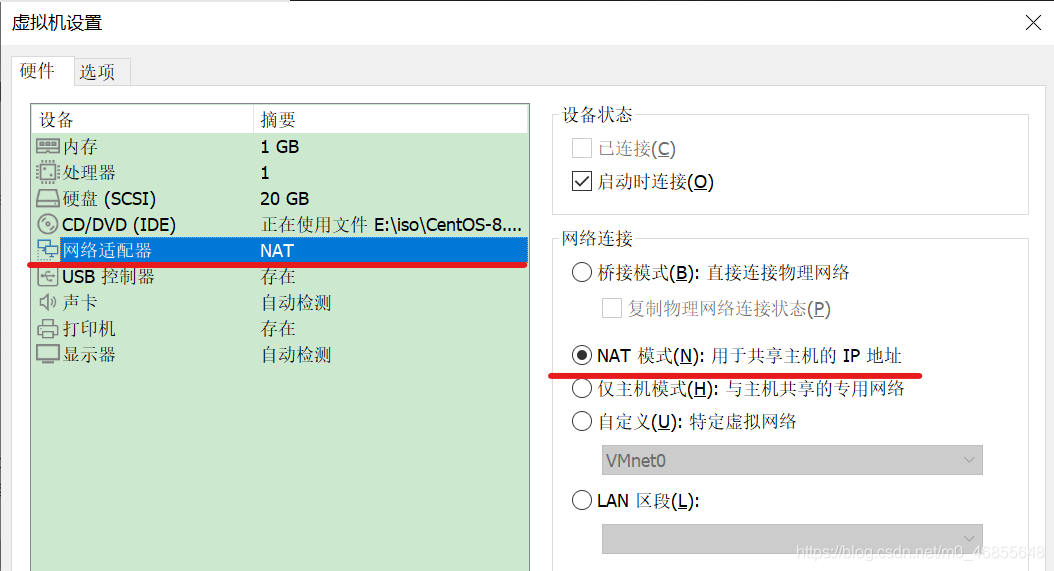
10、选中网络适配器,模式选中NAT模式。此外这里的声卡和打印机、usb控制器非必须,可以视个人情况选择将其移除。设置完毕后点击下方确定。
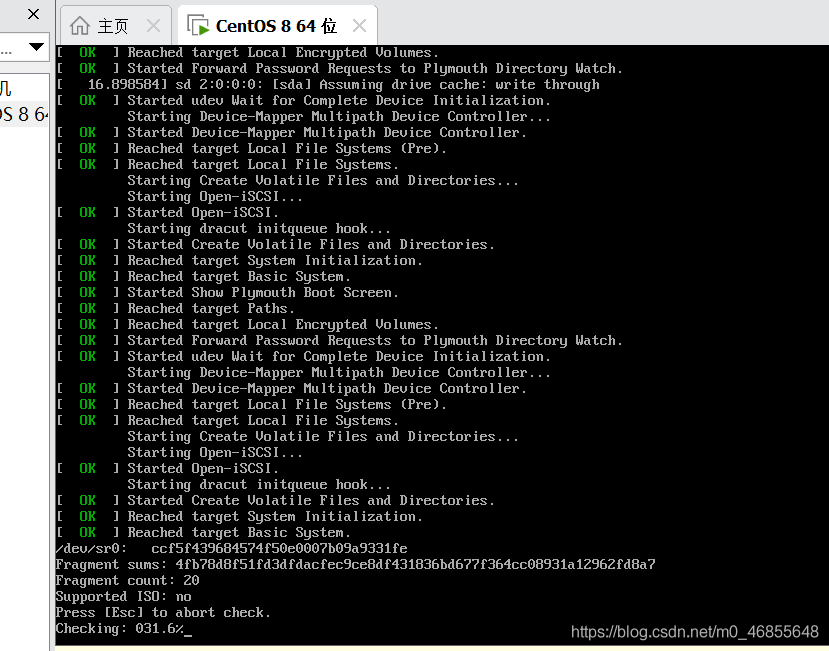
11、启动虚拟机,用↑选择install centos后回车,等待一会儿可以看见如下界面。
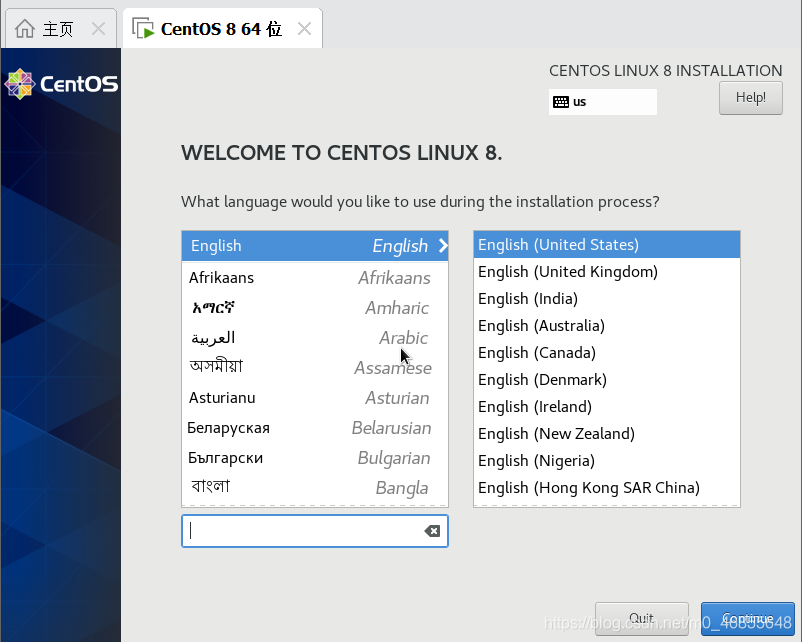
12、安装完成后进入如下界面,选择安装语言
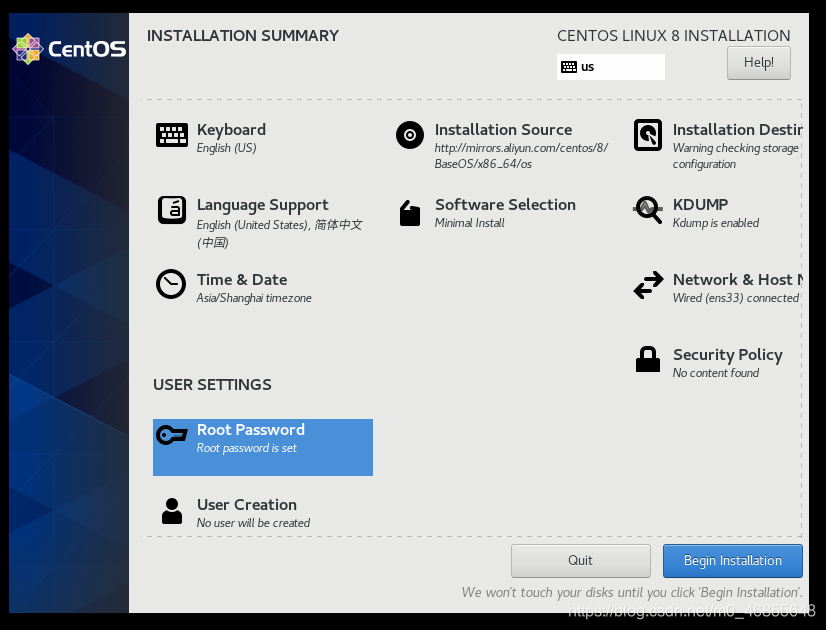
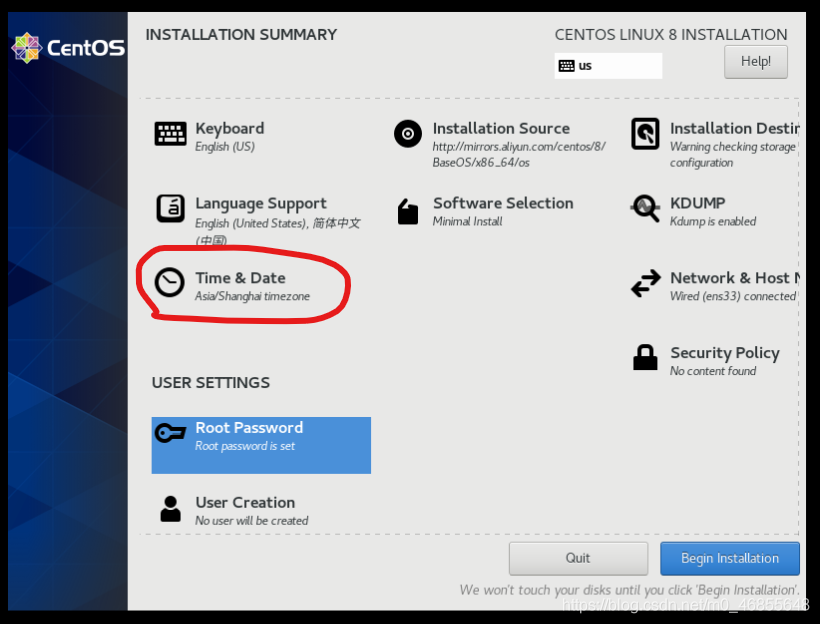
12、语言选择完毕后,出现如下界面,下面将依次配置各项内容
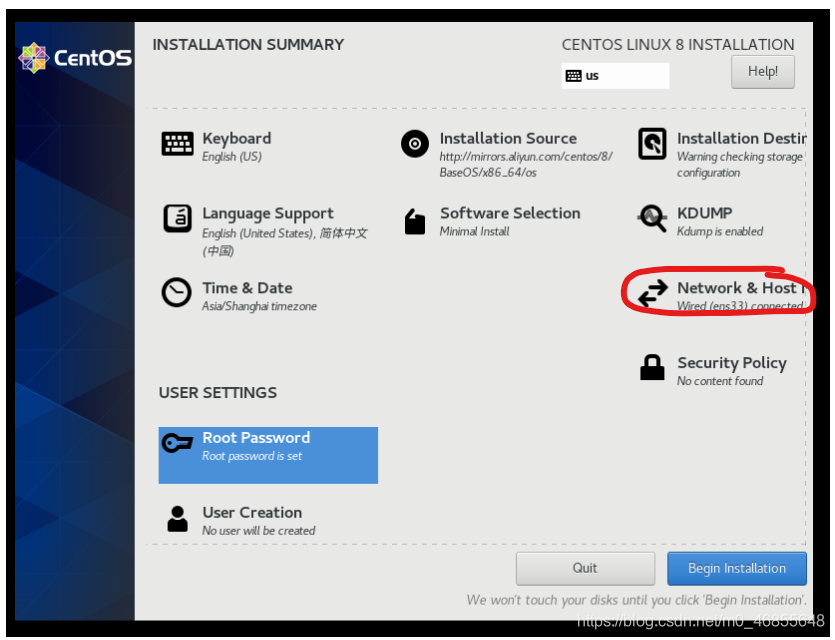
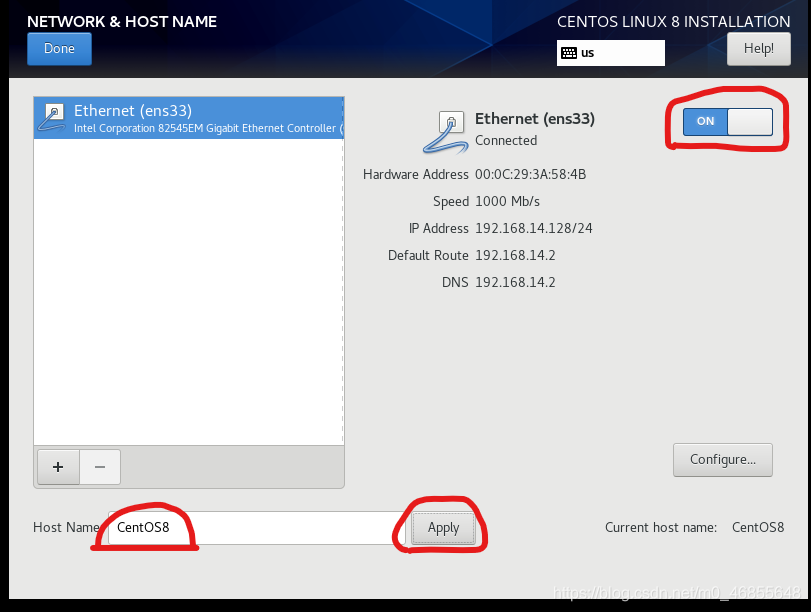
13、首先点击最右侧的network进行网络设置,进入network设置界面后将右侧的开关打开,可以看到网络成功连接。最下方可以点击apply设置本地主机名称,设置完毕后点击左上角的done
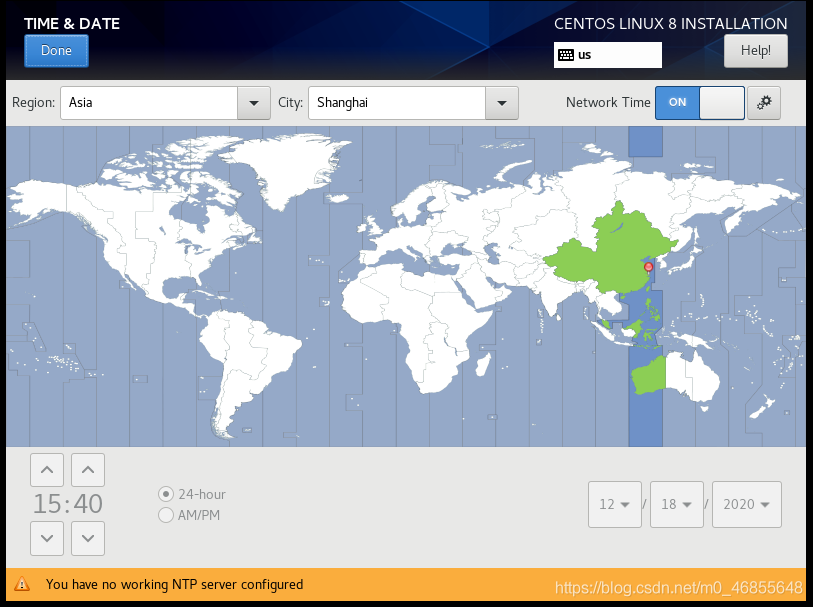
14、下面设置时间。点击界面中的time&data,设置region为Asia,city为shanghai,将最右方network time打开
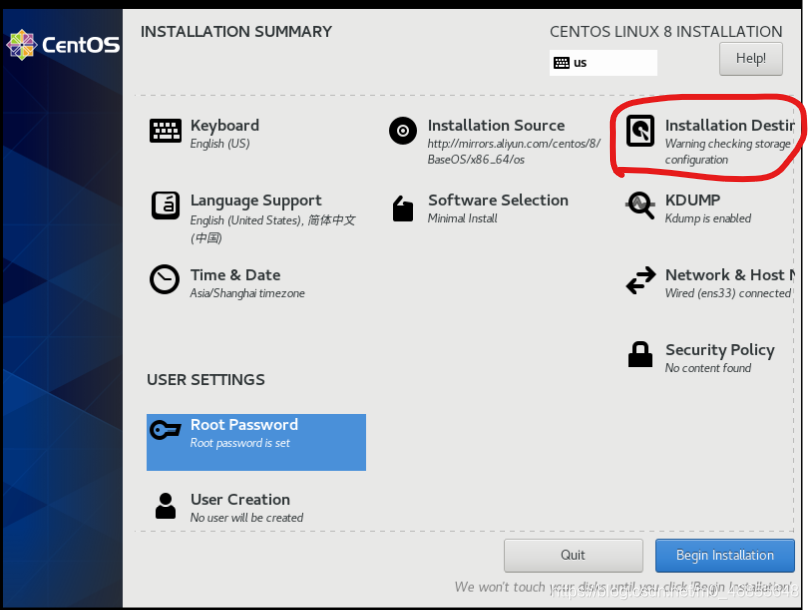
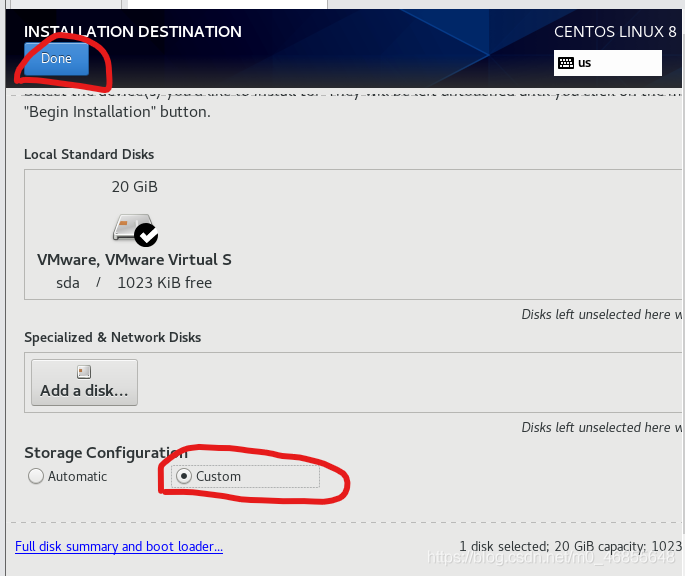
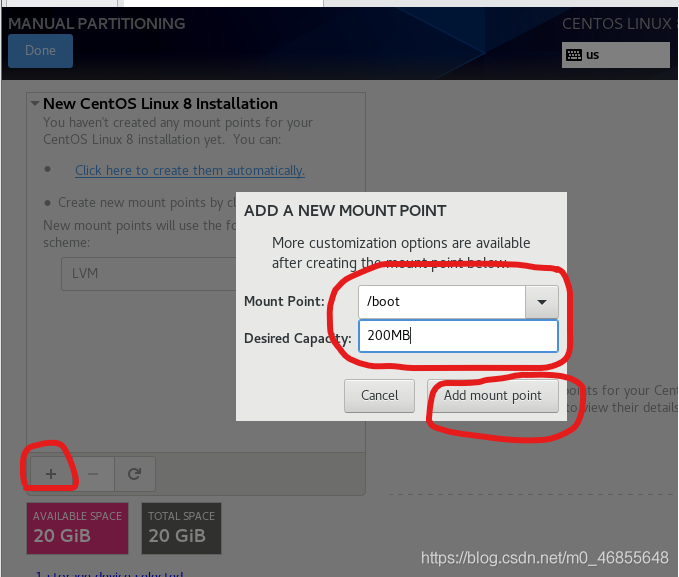
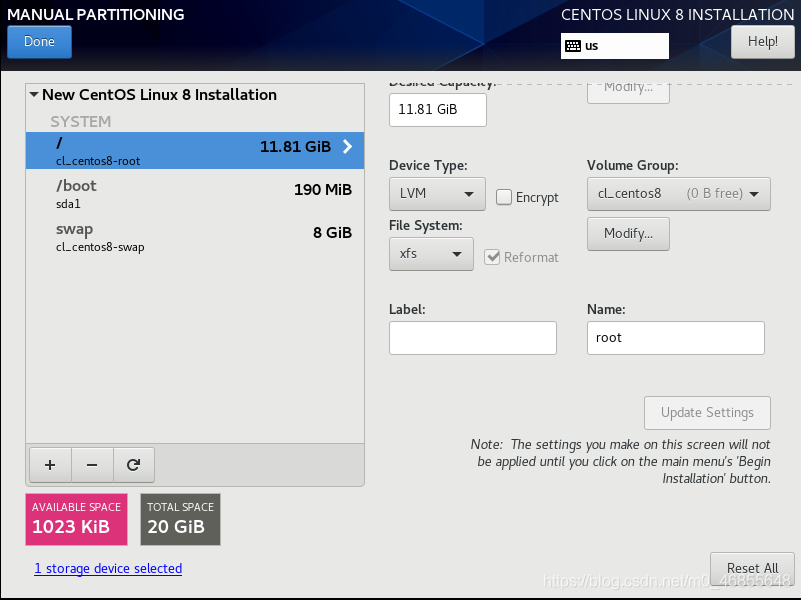
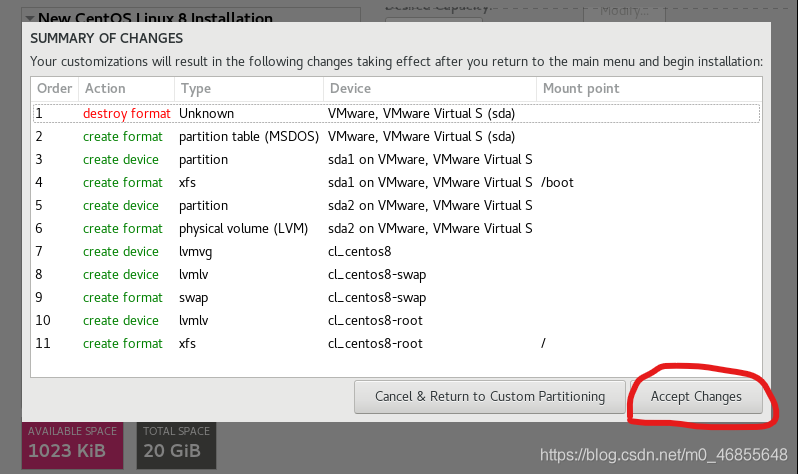
15、点击最右方installation destination设置安装目的地,选择custom自定义配置,在新界面中点击左下+添加设置,分别设置/boot为200MB、/swap为2GB、剩余内存默认分配/,完毕后点击done,在弹出更改摘要界面选择accept changes。
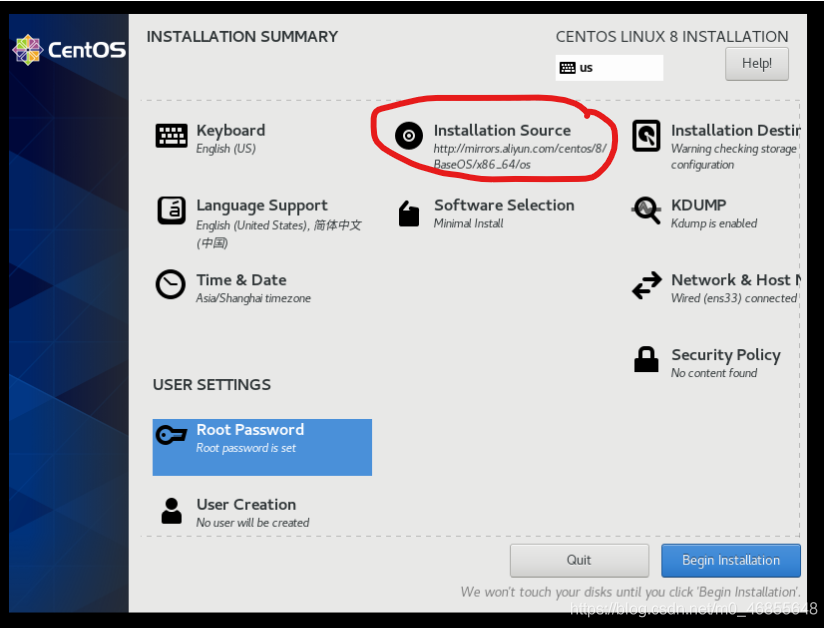
16、点击安装源installation source,在http路径后输入mirrors.aliyun.com/centos/8/BaseOS/x86_64/os
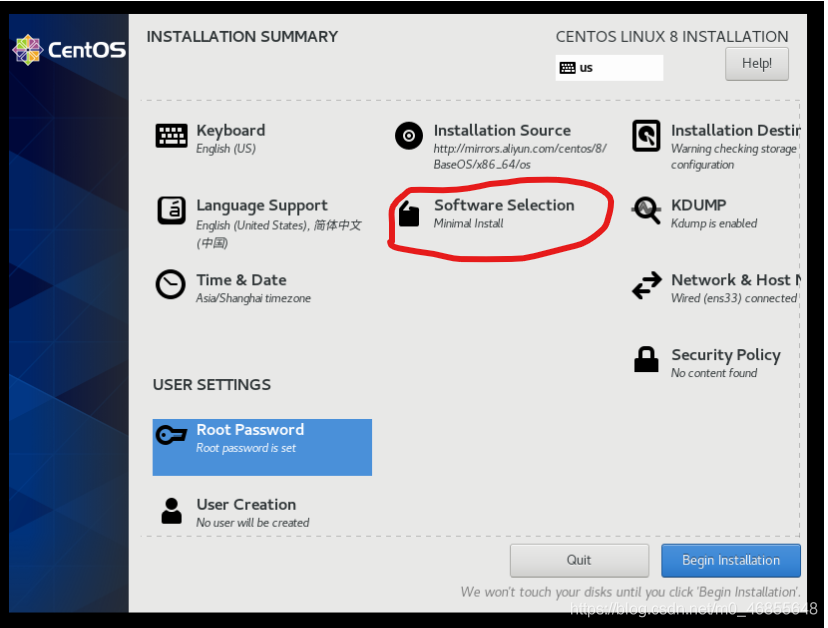
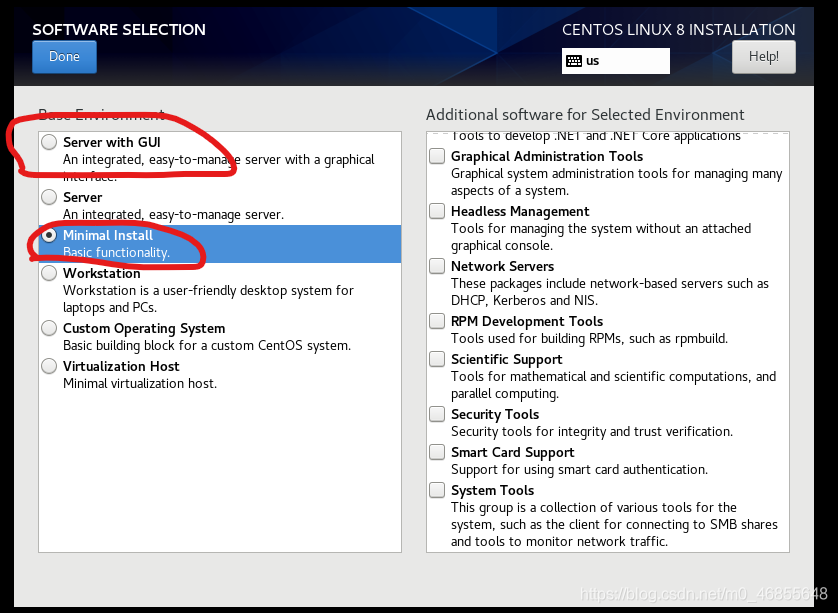
17、点击software selection设置这里可以选择带有图形界面的GUI模式安装,也可以选择命令行操作的最小安装minimal install,视个人情况选择(建议安装minimal install),设置完毕后点击done。
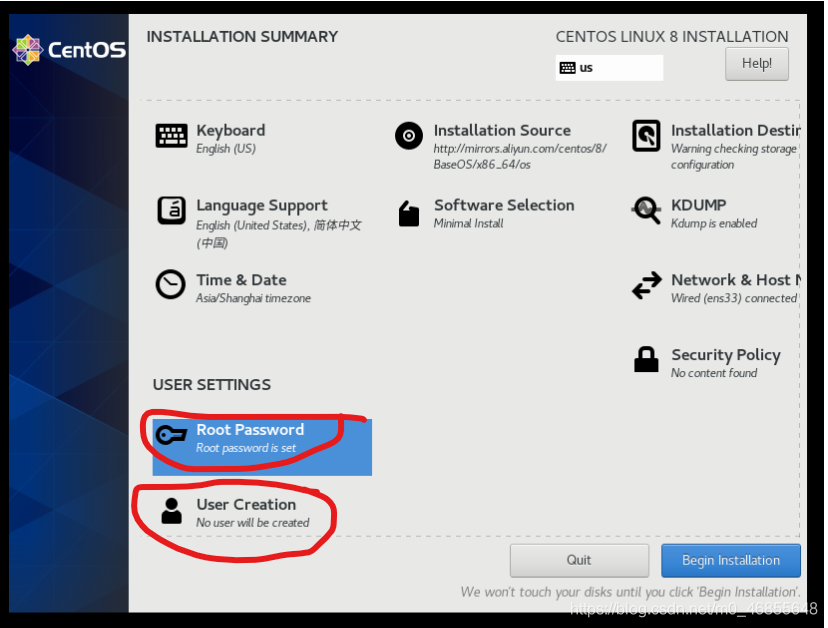
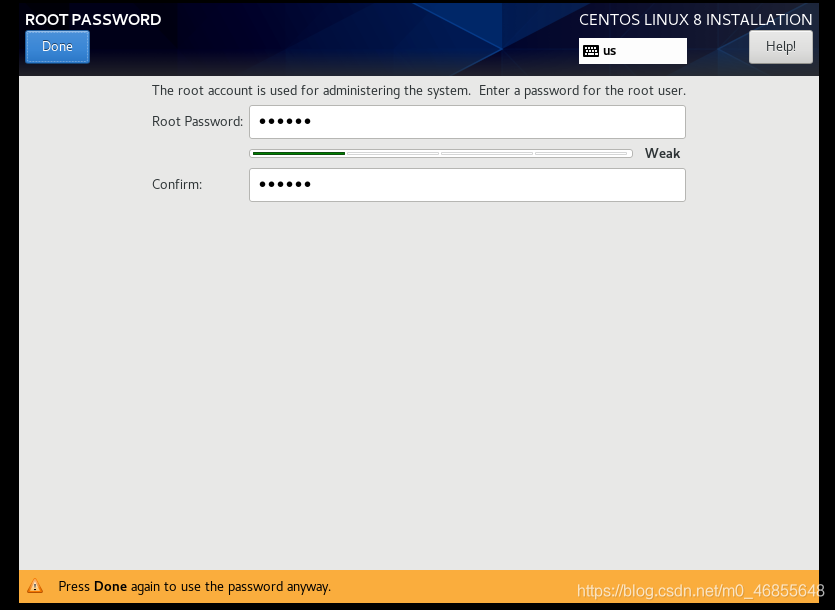
18、设置密码和用户名,分别点击root password设置密码,user creation设置用户,注意用户要勾选为将此用户设置为管理员,此外密码过于简单时需要点击两次done来确认。
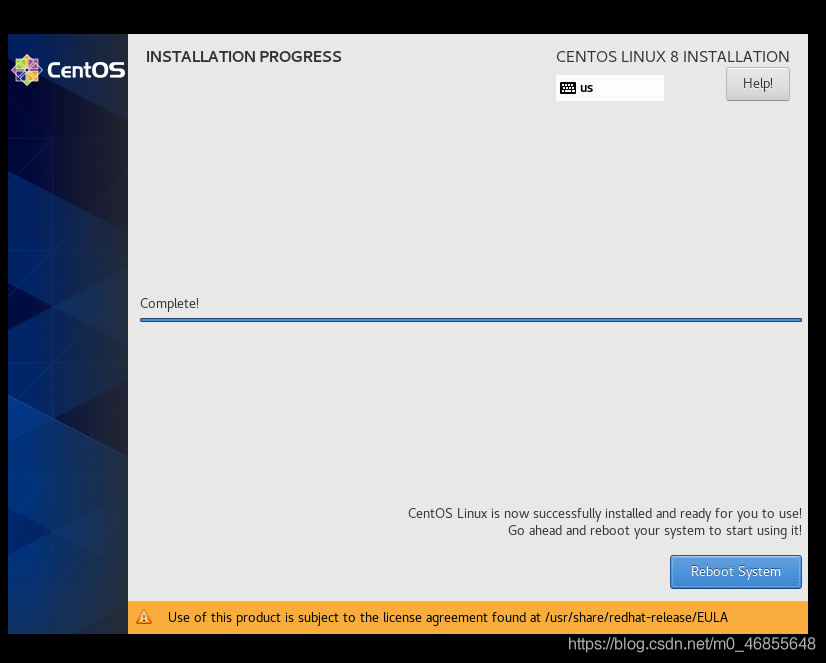
19、设置完毕后点击右下begin installation,等待安装完毕后,点击reboot重启系统即可。
三、登入虚拟机
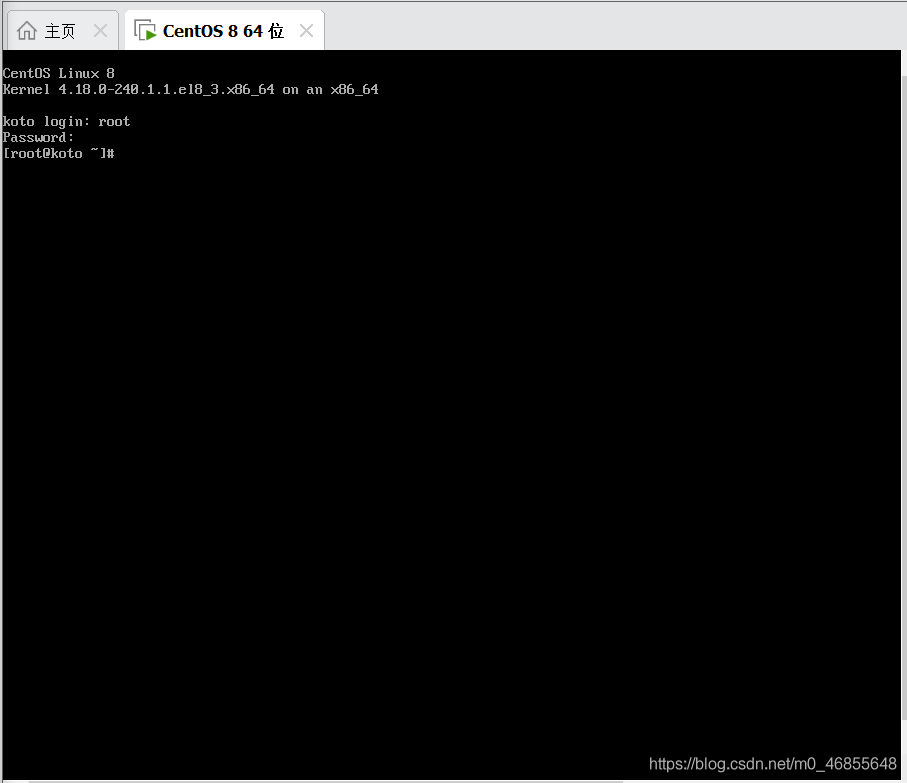
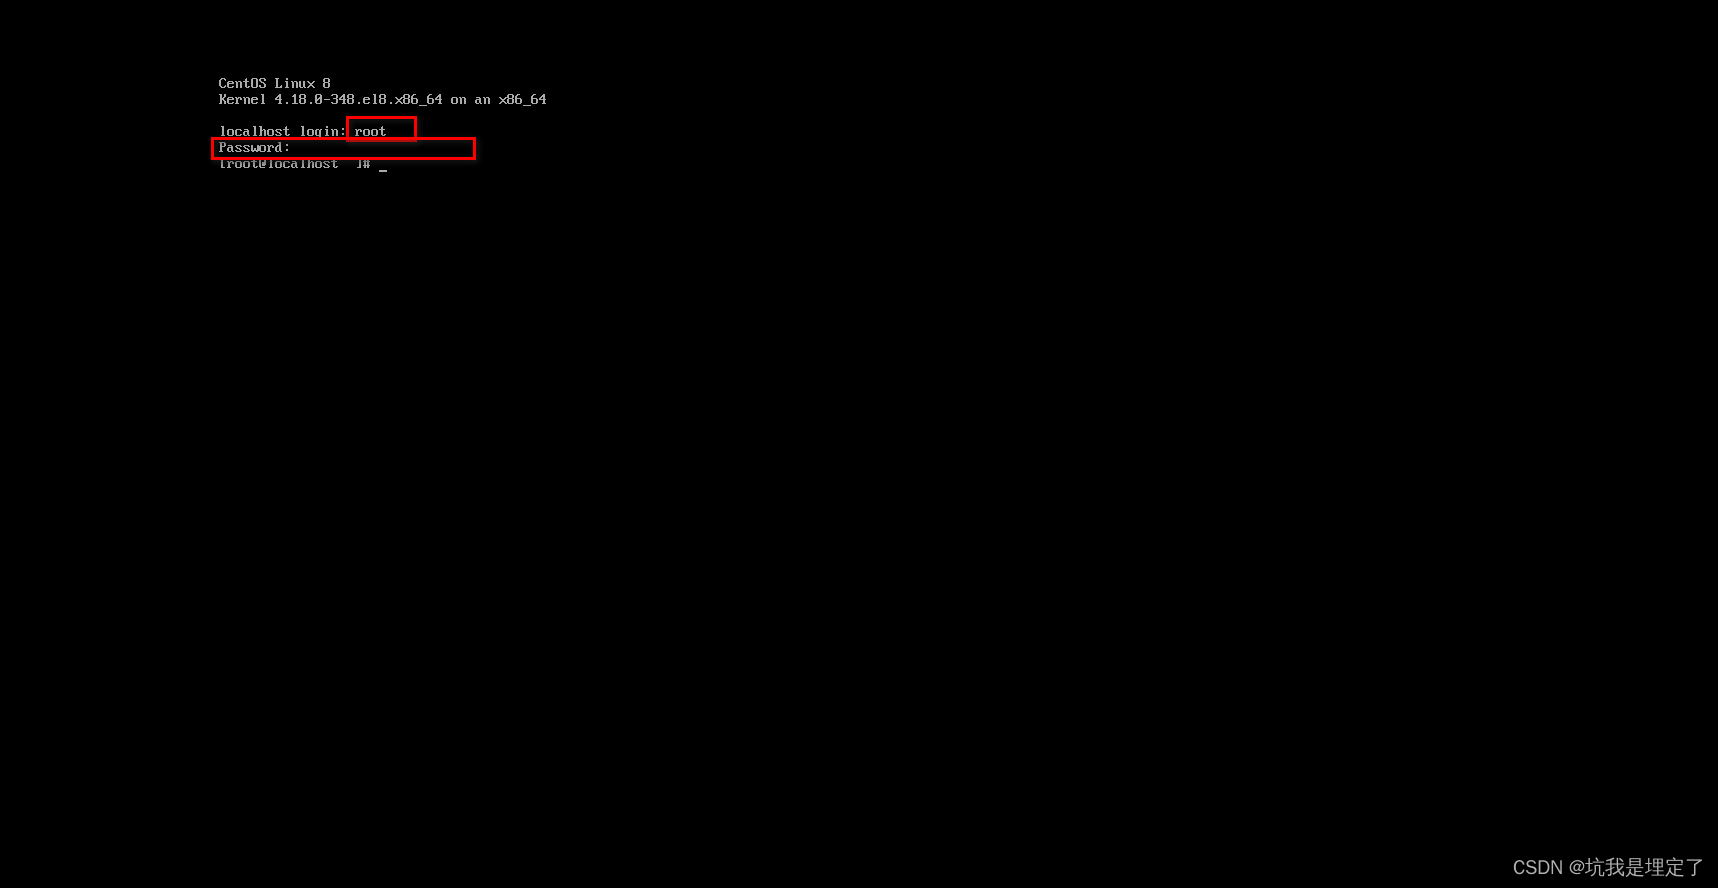
安装完毕后启动虚拟机,在登录界面输入默认用户root,和安装时设置的密码(为保证安全性密码输入时看不见,输入完毕直接回车即可)
可看到成功登录。