在此之前我们用到的请求都是get请求,接下来我们使用post 请求 并接收参数,通过 @Body 装饰器来取
注意:post请求带参数 我们通过游览器路径是直接请求不了的 需要使用postman 来发 post 请求
postman 下载网站 https://www.postman.com/downloads
首先 post 请求参数 我们需要通过一个dto class 来接收,
先创建一个 dto class 名称:test.dto.ts
export class TestDto {id: number;name: string;age: number;
}
增加post接口:
@Post('postTest')postTest(@Body() obj: TestDto) {console.log(obj);return '调用成功'}
使用postman调用接口 传参数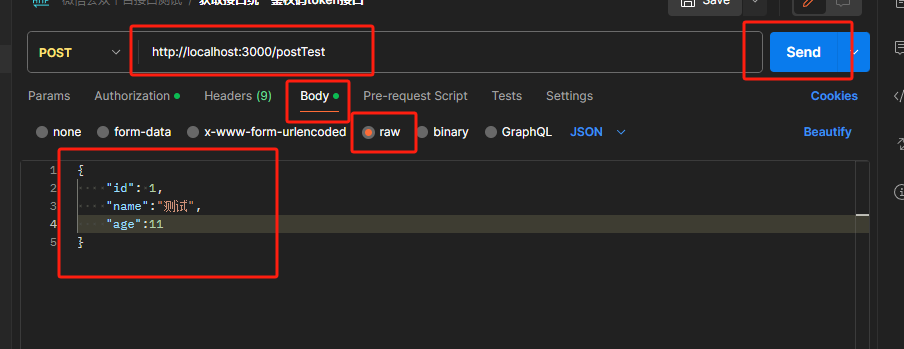
可以看到控制台接收了JSON数据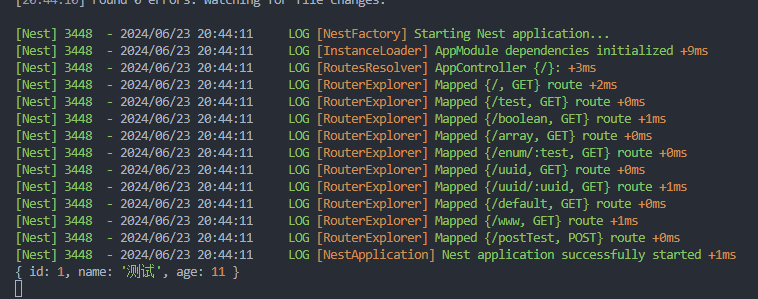
我们再调用接口 age参数传11.23 也能调用成功 但是我在dto定义的时候 只定义了age 为number 但是传浮点数也能传,这个可能会导致后面的逻辑错误,所以就需要用到 ValidationPipe 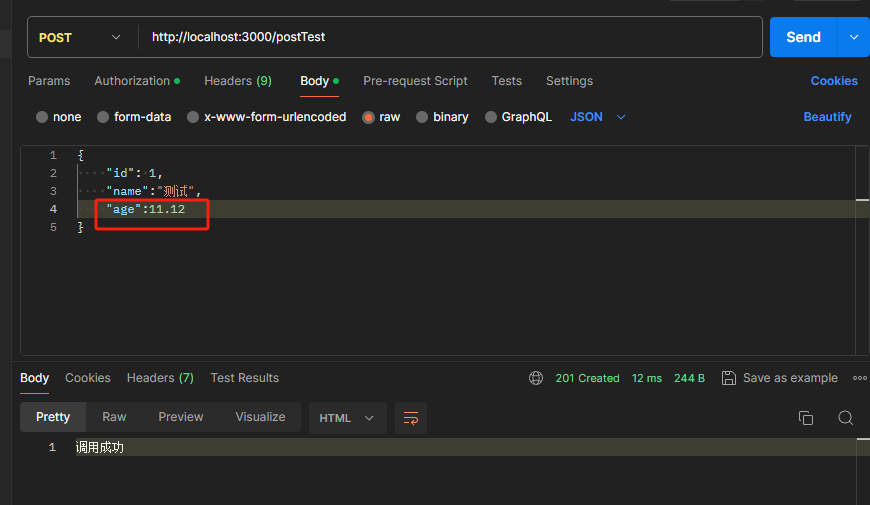
我们需要2个包:
npm install class-validator class-transformer
修改postTest 接口 在body接收参数使用 ValidationPipe
@Post('postTest')postTest(@Body(new ValidationPipe()) obj: TestDto) {console.log(obj);return '调用成功'}
接着我们在test.dto.ts进行修改:
import { IsInt } from "class-validator";export class TestDto {id: number;name: string;@IsInt()age: number;
}
再次请求 可以发现报错了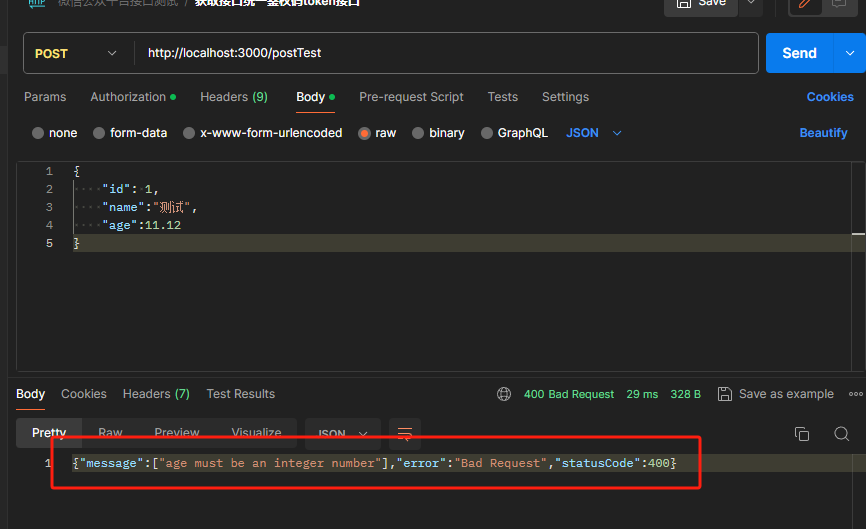
我们使用的 @IsInt() 是来自于 class-validator,
class-validator提供了基于装饰器声明的规则对对象做校验的功能
class-transformer 是把一个普通对象转换为某个 class 的实例对象
以上两者结合实现了 ValidationPipe
流程如下:
我们创建了一个dto类 ----> 接着在pipe拿到类 将参数通过class-transformer 转换为 dto 类的对象,最后使用class-validator 包来对这个对象做验证
我们可以自己来实现ValidationPipe 类:
nest g pipe my-validation --flat --no-spec
import { ArgumentMetadata, BadRequestException, Injectable, PipeTransform } from '@nestjs/common';
import { plainToInstance } from 'class-transformer';
import { validate } from 'class-validator';@Injectable()
export class MyValidationPipe implements PipeTransform<any> {async transform(value: any, { metatype }: ArgumentMetadata) {if (!metatype) {return value;}const object = plainToInstance(metatype, value);const errors = await validate(object);if (errors.length > 0) {throw new BadRequestException('参数验证失败');}return value;}
}
metatype 拿到的就是下面 TestDto ,如果没有声明Dto则无法进行转换和验证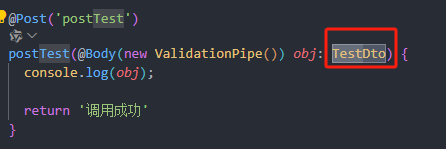
如果有metatype则进行下一步通过 class-transformer 的 plainToInstance 把普通对象转换为 dto class 的实例对象
最后进行验证 调用 class-validator 包的 validate api
我们来使用看一下效果:
@Post('postTest')postTest(@Body(new MyValidationPipe()) obj: TestDto) {console.log(obj);return '调用成功'}
再次调用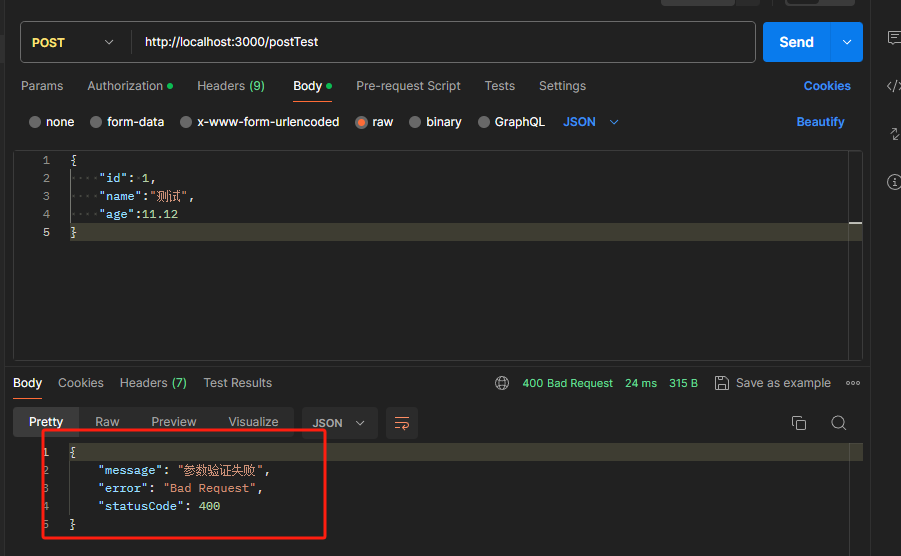
可以发现检测出了错误 当然以上只是个例子 并不完善 所以使用的时候还是所以内置的 ValidationPipe


![Flink ui 本地flink ui 报错 {“errors“:[“Not found: /“]}](https://i-blog.csdnimg.cn/direct/e55c7191f3f64c65850f9265e26c1e6c.png)