今天这篇推文给大家介绍一下和弦图(Chord diagram) 的绘制方法,具体包括的内容如下:
-
和弦图(Chord diagram)简介
-
和弦图(Chord diagram)绘制方法(R+Python)
-
更多详细的数据可视化教程,可订阅我们的店铺课程:
-

和弦图(Chord diagram)简介
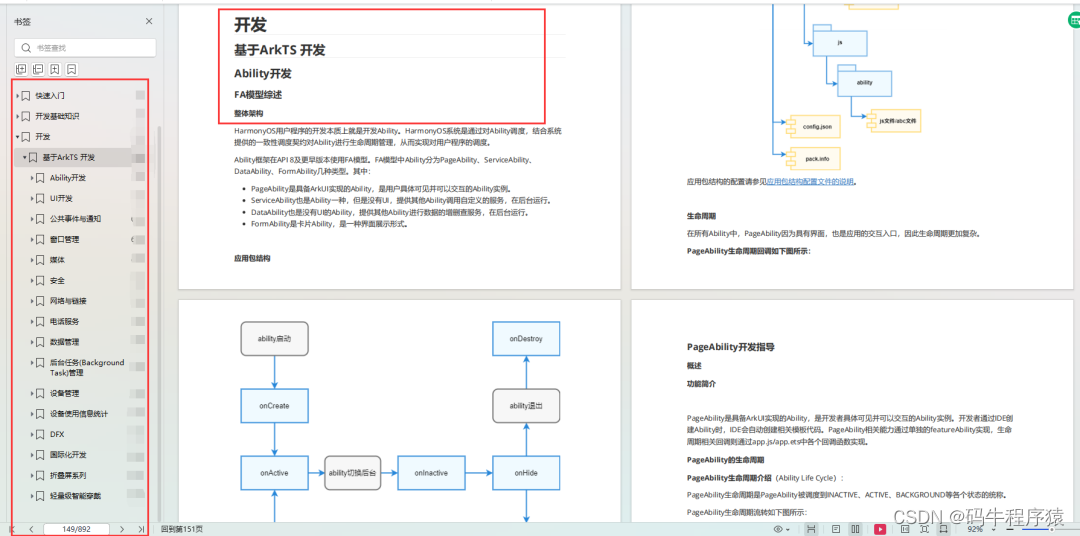
和弦图(chord Diagram),是一种显示矩阵中数据间相互关系的可视化方法,节点数据沿圆周径向排列,节点之间使用带权重(有宽度)的弧线链接。其适合节点数据集或边数据集,功能为观察数据节点之间的关系。此类图主要将数据权重映射到节点和边的宽度,适合多组数据进行绘制。和弦图的结构大致如下:
和弦图结构(图片来源于网络,侵删)
下面就具体介绍下风别使用R和Python进行和弦图(chord Diagram)的绘制。
和弦图(Chord diagram)绘制方法(R+Python)
R绘制方法
R语言绘制和弦图(Chord diagram) 最方便的第三方包为circlize包,由于这个包功能太过丰富,原作者特意将使用方法汇编成册供大家参考学习,网址如下:https://jokergoo.github.io/circlize_book/book/ 。这里我们就列举几个优秀样例供大家参考,具体内容及详细使用方法,大家可参考上述网址。
「样例一:」
代码:
# Libraries
library(tidyverse)
library(viridis)
library(patchwork)
library(hrbrthemes)
library(circlize)
library(chorddiag) data <- read.table("13_AdjacencyDirectedWeighted.csv", header=TRUE)colnames(data) <- c("Africa", "East Asia", "Europe", "Latin Ame.",   "North Ame.",   "Oceania", "South Asia", "South East Asia", "Soviet Union", "West.Asia")
rownames(data) <- colnames(data)
# 保存图片,注意:这里没有使用ggsave()保存
png(filename = "G:\\DataCharm\\可视化包介绍(绘制)\\和弦图\\Chord diagram.png",units="in",width = 8,height = 6,res = 600)#数据处理
data_long <- data %>%rownames_to_column %>%gather(key = 'key', value = 'value', -rowname)# 和弦图 参数设置
circos.clear()
circos.par(start.degree = 90, gap.degree = 4, track.margin = c(-0.1, 0.1), points.overflow.warning = FALSE)#设置图片位置(四周边距)
opar <- par(mar=c(0,0,0,0), bg = "#3E4149")# 选择颜色
mycolor <- viridis(10, alpha = 1, begin = 0, end = 1, option = "C")
mycolor <- mycolor[sample(1:10)]# circlize 包的基础设置
chordDiagram(x = data_long, grid.col = mycolor,transparency = 0.25,directional = 1,direction.type = c("arrows", "diffHeight"), diffHeight  = -0.04,annotationTrack = "grid", annotationTrackHeight = c(0.05, 0.1),link.arr.type = "big.arrow", link.sort = TRUE, link.largest.ontop = TRUE)# 添加文本和刻度轴
circos.trackPlotRegion(track.index = 1, bg.border = NA, panel.fun = function(x, y) {xlim = get.cell.meta.data("xlim")sector.index = get.cell.meta.data("sector.index")# 文本circos.text(x = mean(xlim), y = 3.2, labels = sector.index, facing = "bending", cex = 0.8)# 刻度circos.axis(h = "top", major.at = seq(from = 0, to = xlim[2], by = ifelse(test = xlim[2]>10, yes = 2, no = 1)), minor.ticks = 1, major.tick.length = 0.5,labels.niceFacing = FALSE)}
)
par(opar)
dev.off()
可视化结果如下:

Sample01
「样例二:」
代码:
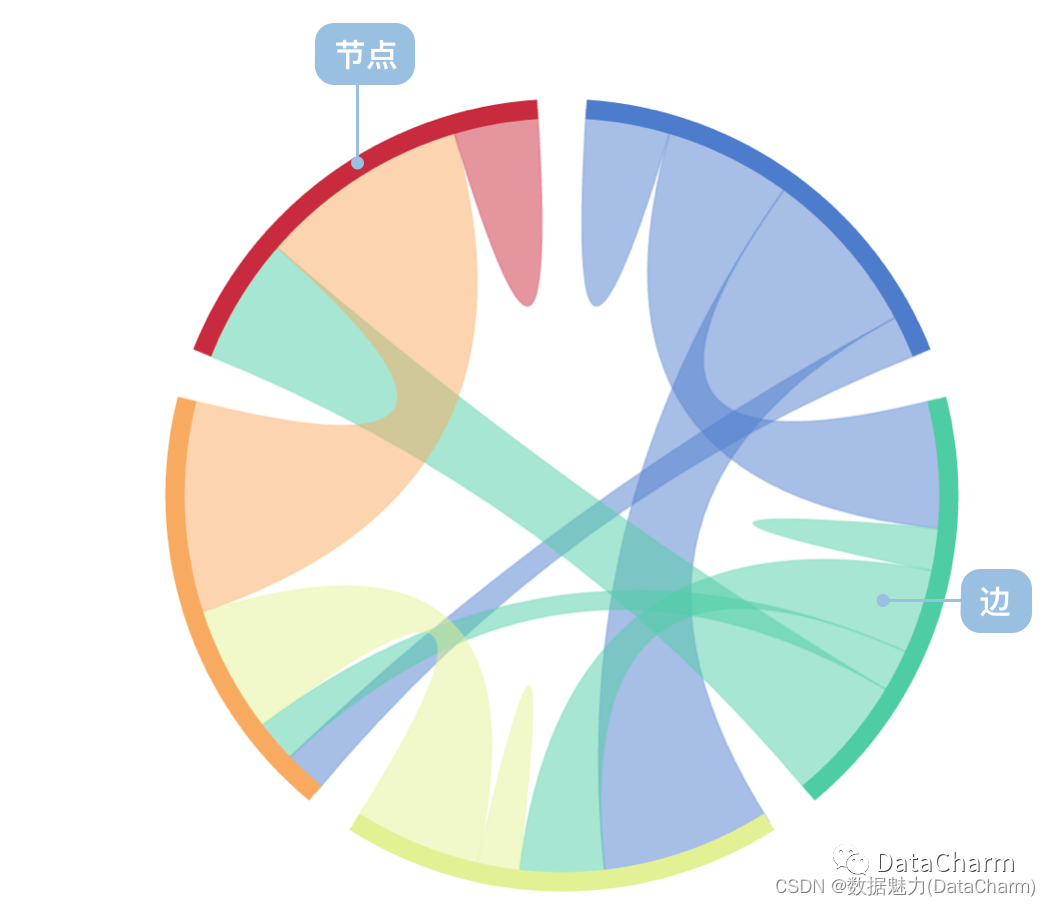
#img_url:http://www.thegreenhead.com/imgs/keith-haring-double-retrospect-worlds-largest-jigsaw-puzzle-2.jpgload(system.file("extdata", "doodle.RData", package = "circlize"))
circos.par("cell.padding" = c(0, 0, 0, 0))
circos.initialize(letters[1:16], xlim = c(0, 1))
circos.track(ylim = c(0, 1), panel.fun = function(x, y) {img = img_list[[CELL_META$sector.numeric.index]]circos.raster(img, CELL_META$xcenter, CELL_META$ycenter, width = CELL_META$xrange, height = CELL_META$yrange, facing = "bending.inside")
}, track.height = 0.25, bg.border = NA)
circos.track(ylim = c(0, 1), panel.fun = function(x, y) {img = img_list[[CELL_META$sector.numeric.index + 16]]circos.raster(img, CELL_META$xcenter, CELL_META$ycenter, width = CELL_META$xrange, height = CELL_META$yrange, facing = "bending.inside")
}, track.height = 0.25, bg.border = NA)
circos.clear()
结果如下:
Sample_02
Python绘制方法
Python 绘制和弦图(Chord diagram) 则不像R那样绘制方便,但也存在一些优秀的第三方包用于绘制。接下来我就列举一下:
-
matplotlib-chord-diagram
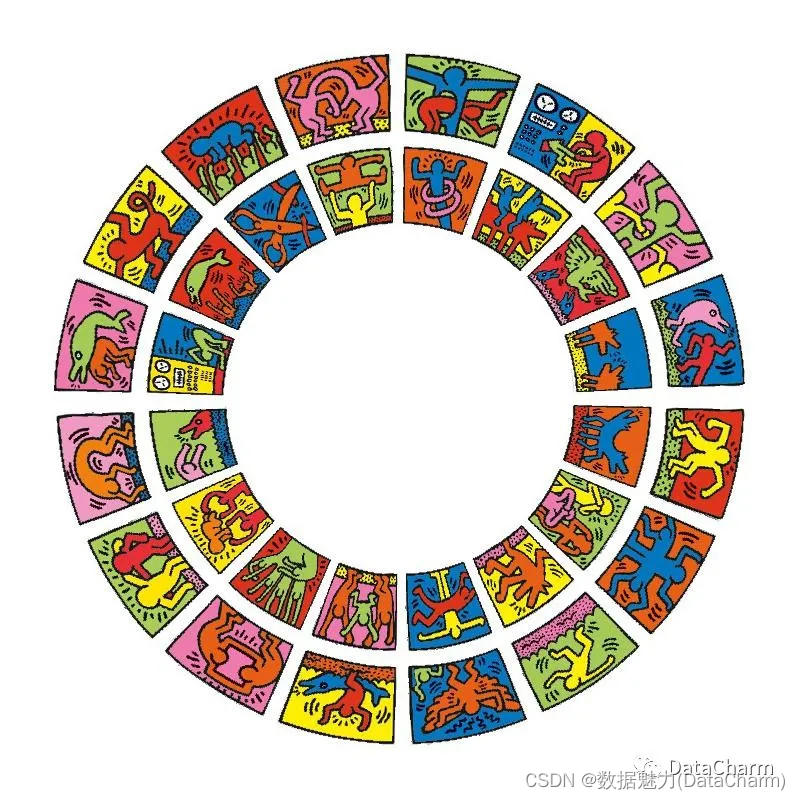
Github(https://github.com/fengwangPhysics/matplotlib-chord-diagram) 上的一个优秀的基于matplotlib绘制和弦图的方法,已定义成绘图函数(完全基于Matplotlib,代码行数较多),绘制的结果如下:

matplotlib-chord-diagram
-
Python-chord库
除了定义好的绘图函数外,Python 当然也存在优秀的第三方库 进行绘制,chord库(https://github.com/shahinrostami/chord) 就是其中一个,该库作者不仅维护chord库,更推出收费的Chord PRO,当然,一般的绘图需求chord库就可以完成,但如果你需求较为繁琐,可以考虑付费的Chord PRO版本,两个库绘制的结果都是交互式的哦!接下来我们就列举几个chord库的样例用于展示:
样例:
由于高度集成化,chord库绘制和弦图的代码也比较简洁,如下:
from chord import Chord
#样例数据:
matrix = [[0, 5, 6, 4, 7, 4],[5, 0, 5, 4, 6, 5],[6, 5, 0, 4, 5, 5],[4, 4, 4, 0, 5, 5],[7, 6, 5, 5, 0, 4],[4, 5, 5, 5, 4, 0],
]names = ["Action", "Adventure", "Comedy", "Drama", "Fantasy", "Thriller"]
# 可视化绘制
Chord(matrix, names).show()
结果如下:
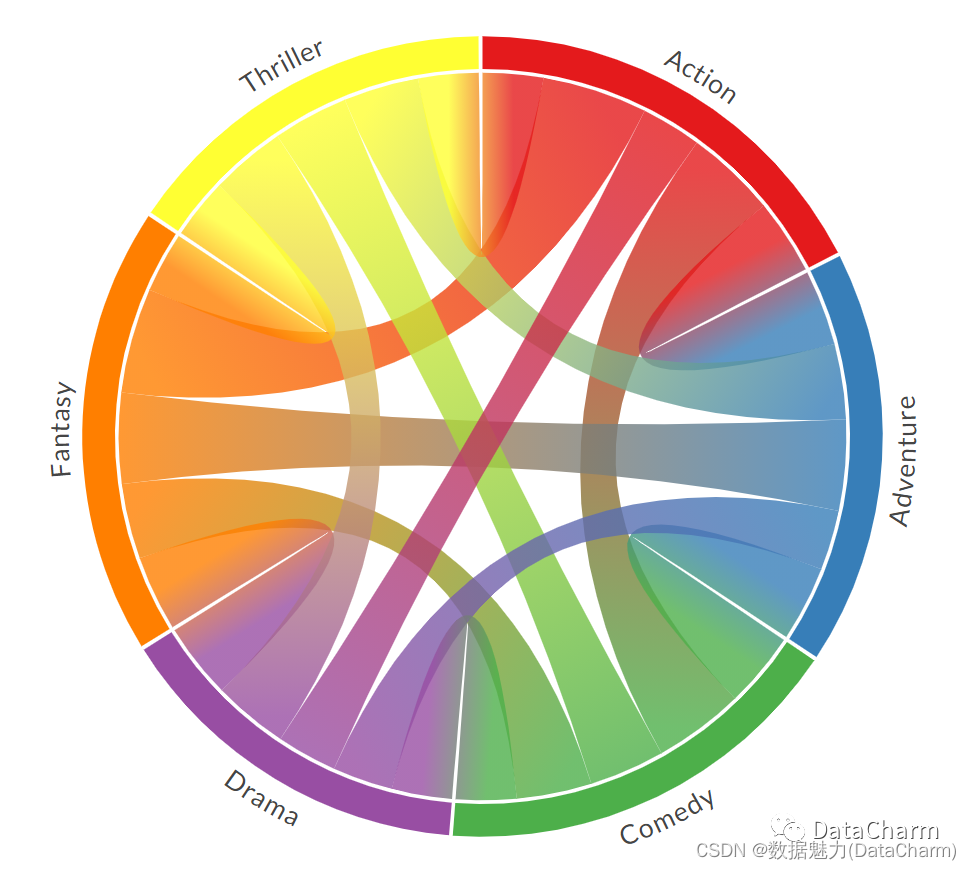
Chord Example01
当然,你还可以自定义颜色:
hex_colours = ["#222222", "#333333", "#4c4c4c", "#666666", "#848484", "#9a9a9a"]Chord(matrix, names, colors=hex_colours).show()
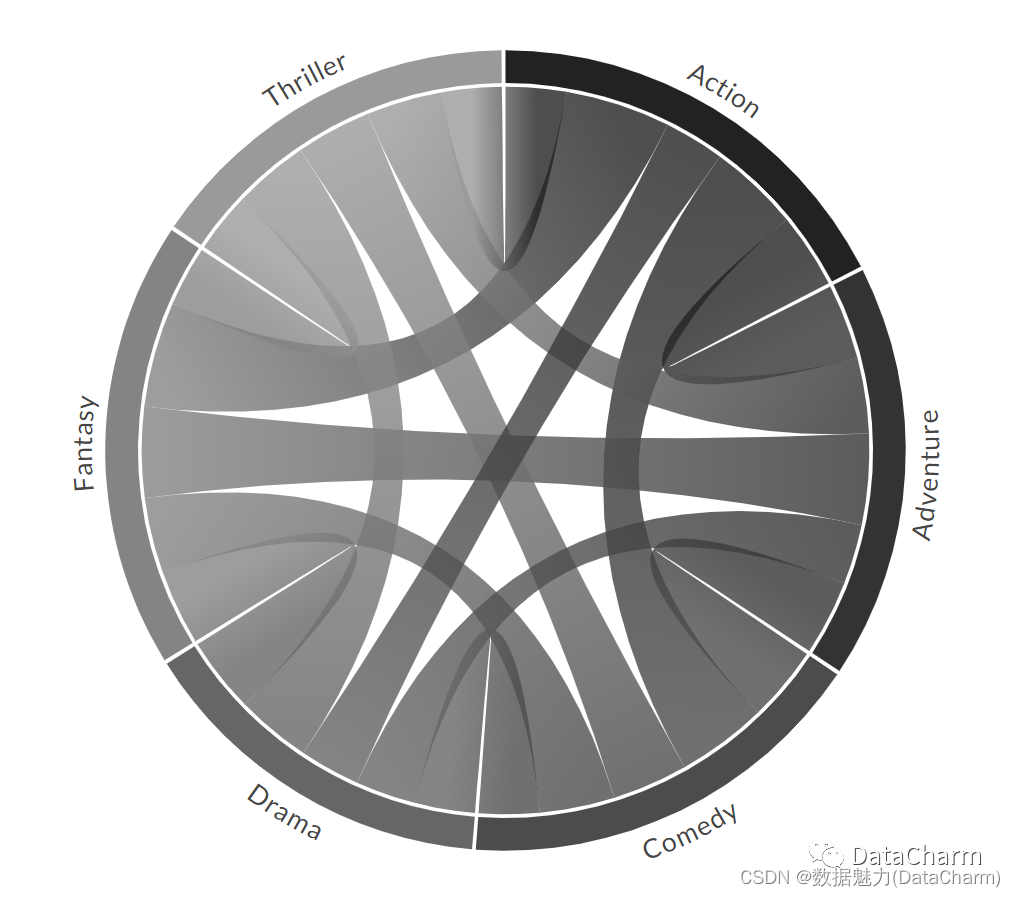
Change color
在定制化操作上,免费的Chord 和付费的Chord Pro 主要有以下不同:
「Chord(free)」:
Chord(self,matrix,names,colors="d3.schemeSet1",opacity=0.8,padding=0.01,width=700,label_color="#454545",wrap_labels=False,margin=0,credit=False,font_size="16px",font_size_large="20px" )
「Chord Pro」:
Chord(self,matrix,names,colors="d3.schemeSet1",opacity=0.8,padding=0.01,width=700,label_color="#454545",wrap_labels=False,margin=0,credit=False,font_size="16px",font_size_large="20px",details=[],details_thumbs=[],thumbs_width=85,thumbs_margin=5,thumbs_font_size=14,popup_width=350,noun="instances",details_separator=", ",divide=False,divide_idx=0,divide_size=0.5,instances=0,verb="occur together in",symmetric=True,title="",arc_numbers=False,divide_left_label="",divide_right_label="",inner_radius_scale=0.39,outer_radius_scale=1.1,allow_download=False, )
可以看的出来,付费的Chord Pro在定制化绘制方面要灵活的多。此外,该库的作者还有许多优秀的资源分享,更多信息可查看上述的网址。
-
Bokeh、Plotly库
既然提到了交互式的Python可视化库,和弦图还可以使用Bokeh、Plotly等库进行绘制,更多详细内容,小伙伴们可自行搜索哈。
总结
本篇推文介绍了和弦图(Chord diagram)的R和Python绘制方法,得益于优秀的开发者,两者在制作方法都有对应的三方库或者函数,但也可以看出,R在可视化绘制方法还是比Python要灵活的多,且直接对应的第三方包也相对较多,总之还是一句话,绘图工具千千万,适合自己的才是最好的。